How to Make Printables
Learn How to Make Printables with PicMonkey! As their company profile states, "PicMonkey makes creative tools for photo editing and graphic design because we want you to rock the universe." This is a free tool you can use to edit photos or create your own graphic designs! With this quick how-to article, you will learn how to make printables using this free online photo-editing program. Whether you want to create free printable invitations for your next birthday party or a piece of art to hang on the living room wall, you will have the freedom to create a variety of free printables with this tutorial.
Instructions:
When you arrive at PicMonkey.com, you will see several options at the top of the screen to begin. These options include Edit, Touch Up, Design, and Collage.

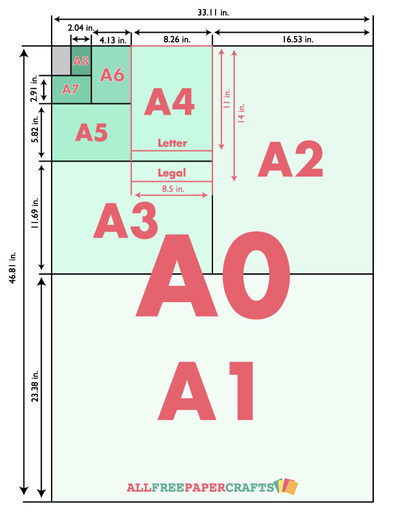
Hover over Design, and select the size of your choosing. In order to create a printable that will fit nicely on an 8.5" x 11" sheet of paper, you can select the custom dimensions of 816 pixels by 1056 pixels.

Once you select your canvas size, you will arrive at a screen that looks like this:

The left navigation is divided up by the following categories:
- Edit: Adjust the color, exposure, color balance, sharpen, resize, etc.
- Effects: This category is perfect for photo editing. Add a variety of "filters" and other exciting effects to your work.
- Touch Up: This section is ideal for photos of faces. Touch up any imperfections and enhance the best features.
- Text: Add a caption to your photo. This section is ideal for graphic design, especially if you are creating printable invitations or other beautiful text art.
- Overlays: Layer a variety of images onto your work! This is a great feature to begin with when you are creating a printable. From basic shapes to banners to flowers and more, experiment with all of the shapes this program has to offer.
- Frames: add a unique frame to your work. The Simple Edge option is classic, and you can also give the work unique frames like Photo Corners, Craft Scissors, and more.
- Textures: Give the entire work a unique surface, such as Water, Paper, Clouds, and more.
- Themes: this section combines all of the others into a collection of specific topics, such as holidays, parties, and more. If you are creating a printable for Christmas, for example, there is an entire theme titled Santa Land which includes overlays, frames, text, and more.
Now it's time for the fun to begin! Start by selecting your canvas color. I'm going to keep the background white for this particular printable. I'm also not going to worry about Effects, Textures, Frames, or Touch Up just yet. In fact, I'm going to start with Overlays for inspiration.
The Graphic Blooms are where I will start. They are pretty images and they don't cost money (the Royal features require a monthly subscription).
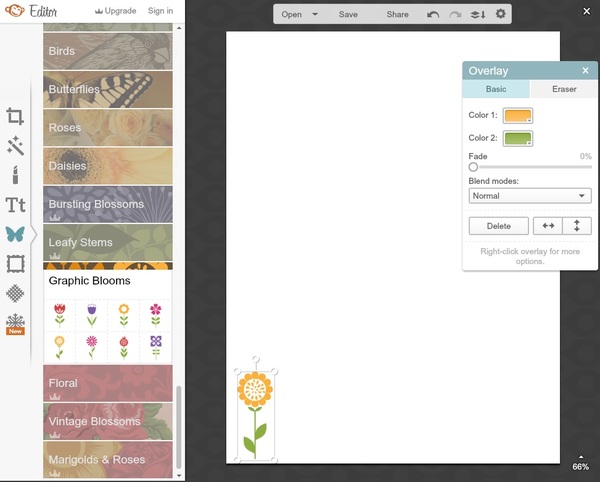
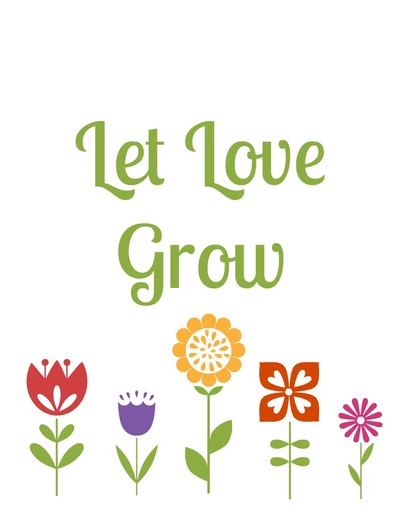
Once you click the overlay of your choice, you can drag it where you want in the canvas, change the colors, resize, rotate, etc. I'm going to add several Graphic Blooms to the bottom of my canvas.
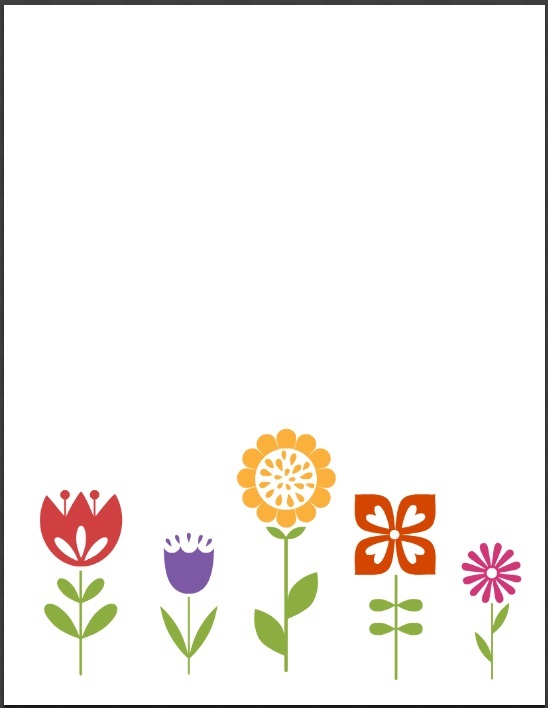
I made each overlay a different size and changed the color of one flower to make it orange.
Next, I will select my text. There are a variety of beautiful fonts to choose from. La Belle Aurore is a personal favorite, but I may choose the simpler Lobster Two for this graphic.
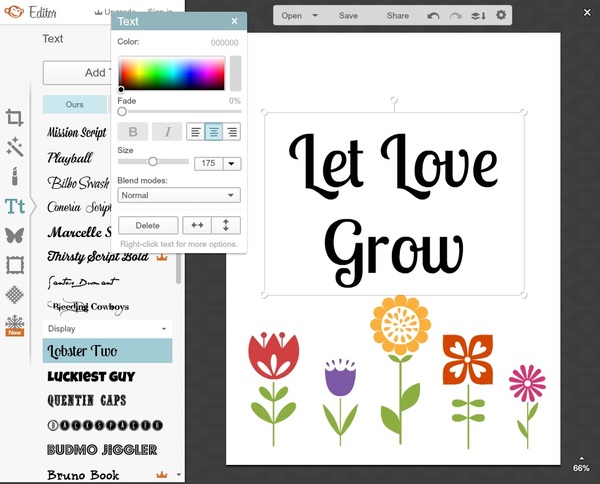
The text is a little too dark, so I will change the color to match one of the graphic blooms.
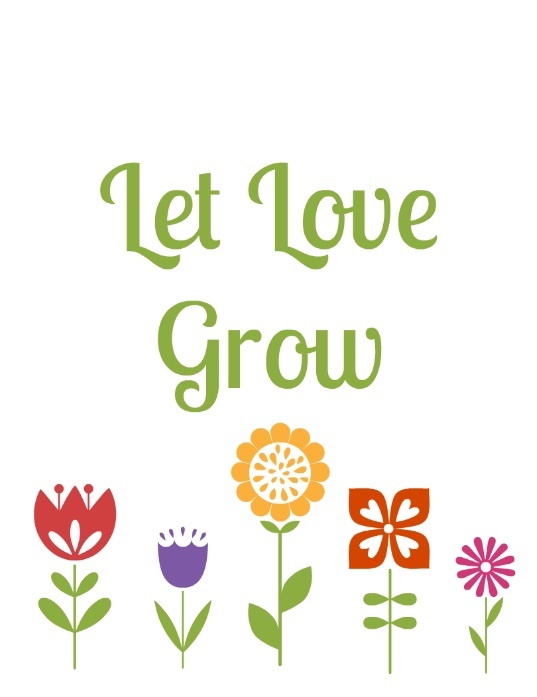
The Printable is ready! Hit the save button in order to export your file to a JPEG. You can then paste the image into a word processer and stretch it to fit the screen. You can print from there, frame your creation, and enjoy your new printable!
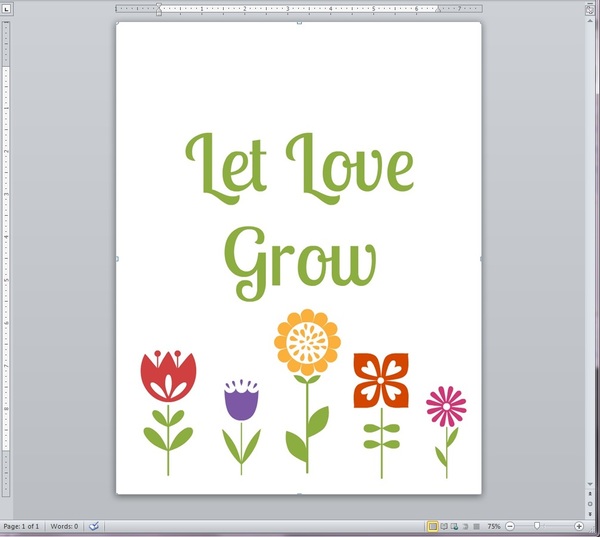
Bonus! Do you like this printable? Get the PDF here.
Read NextStandard Paper Sizes
Your Recently Viewed Projects
EditorLP
Mar 23, 2016
This is a helpful resource for anyone who wants to make their own printables! I think it's awesome that services like PicMonkey offer so much free content.
Report Inappropriate Comment
Are you sure you would like to report this comment? It will be flagged for our moderators to take action.
Thank you for taking the time to improve the content on our site.

