Something Old Something Blue Wedding Invitation
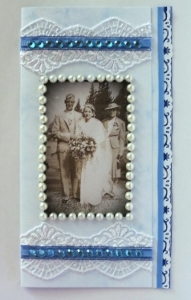
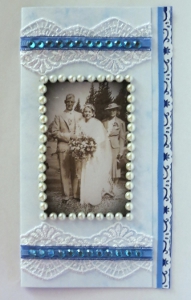
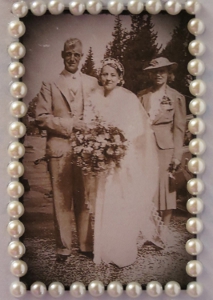
A wedding is a time to embrace old traditions, sentimentality and romance. Pay homage to the old adage “Something old, something new, something borrowed, something blue” with this vintage-inspired wedding invitation. The Something Old Something Blue Wedding Invitation is a gorgeous DIY card that is unique and utterly gorgeous. The faded vintage photograph and the bright blue background create a stunning contrast that can't be beat. Surprise your guests when you send out this completely original do it yourself wedding invitations.
Materials:
- Vintage Family Wedding Photo
- 8.2” x 8.2” Light Blue Marbled Cardstock
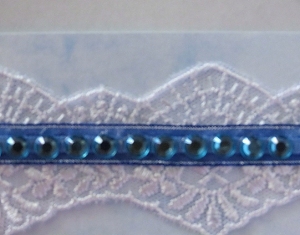
- Self-adhesive 3mm Pearl Stickers
- Self-adhesive 3mm Blue Rhinestone Stickers
- 12” of White Scalloped Lace Trim
- 22” of 3/8 Inch Blue Satin Ribbon with Silver Metallic Edge
- 22” of 1/8 Inch Light Blue Satin Ribbon
- Upikit Border Punch
- Glue
- Ruler
- Pencil
- Scissors
- Scanner and Printer
Instructions:
1. Scan the photo onto your computer. Tip: If necessary, use photo editing software to give the photo a more aged look.
2. Print a copy of the photo and cut it out.
3. Score the light blue marbled cardstock as follows: the front of the card must be 3.6“ wide, and the back of the card must be 4.4” wide.
4. With the fold at the left, use the Upikit border punch to create a border on the right side of the back of the card. Use the inbuilt guide to align each part of the border before punching.
5. Glue the white scalloped lace trim in place on the top and bottom of the front of the card, and cut off any protruding edges.
6. Glue the blue satin ribbon with silver metallic edge in place across the lace trim, and also behind the punched border. Cut off any protruding edges.
7. Glue the light blue satin ribbon on top of the blue satin ribbon with silver metallic edge that runs across the lace trim. Also glue the light blue satin ribbon to the left of the punched border. Cut off any protruding edges.
8. Centre and glue the printout of the photo to the front of the card.
9. Frame the photo with the pearl stickers.
10. Add the finishing touches with the blue rhinestone stickers
Read NextBlack and Gold Wedding Invitation

