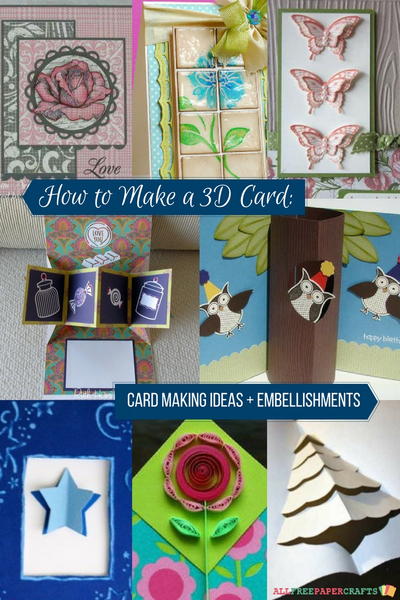
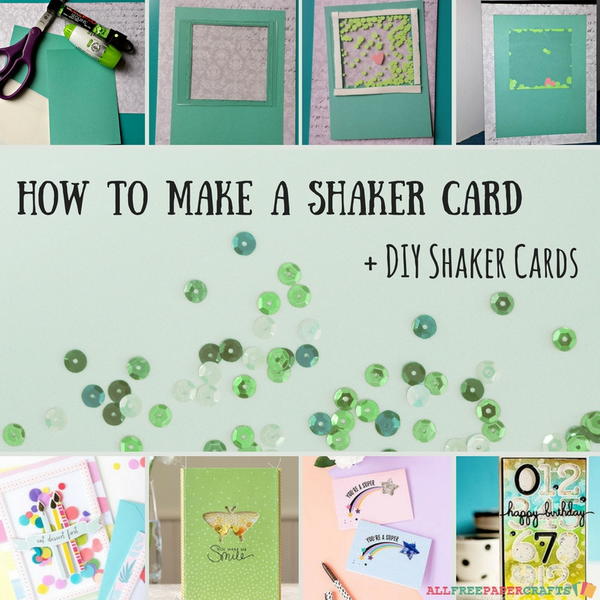
How to Make a Shaker Card + 5 DIY Shaker Cards
Learn how to make shaker cards and impress everyone you know!
Learn how to make a shaker card and find several ideas for your own with this How to Make a Shaker Card + 5 DIY Shaker Cards article. Shaker cards are just one of the many ways to send your thoughtful greetings. According to the Greeting Card Association, the history of written communication goes all the way back to 3000 BC, when Sumerians invented writing on tablets made of clay.
This DIY shaker card tutorial will help you learn a new paper crafting skill. If you want to know how to make shaker cards, then simply look at this tutorial. Below, you will find the general steps for how to make a shaker card as well as a specific tutorial that you can follow along with. Learning how to make shaker cards will open up the door to more card making ideas to use for any occasion.
Estimated CostUnder $10
Time to CompleteUnder an hour
Primary TechniquePaper Crafts
Project or Page SizeCard
Type of Paper UsedCardstock

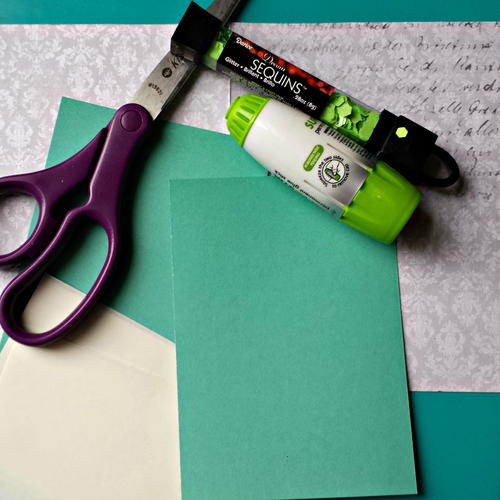
Materials List
- Card template (or cardstock to make your card in 5" x 7" or desired size)
- Cardstock
- Clear acetate or piece of plastic (large enough to cover window)
- Small material to fill shaker portion of card (sequins, glitter, beads, etc)
- Glue or double-sided adhesive
- Foam tape
- Scissors or paper cutter
How to Make a Shaker Card:
-
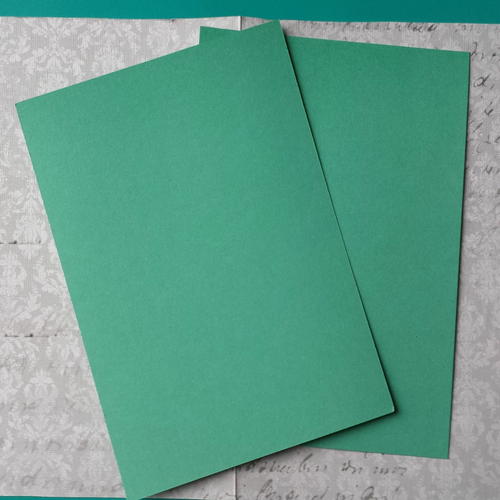
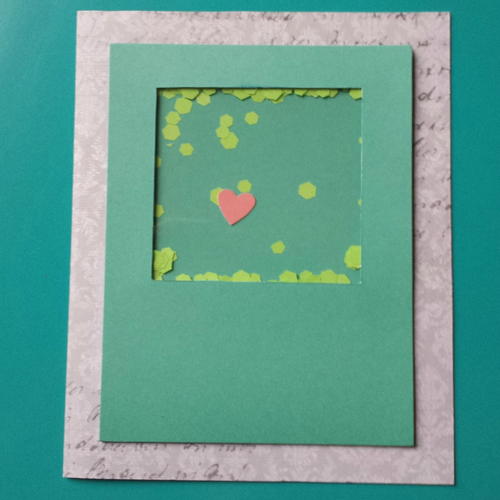
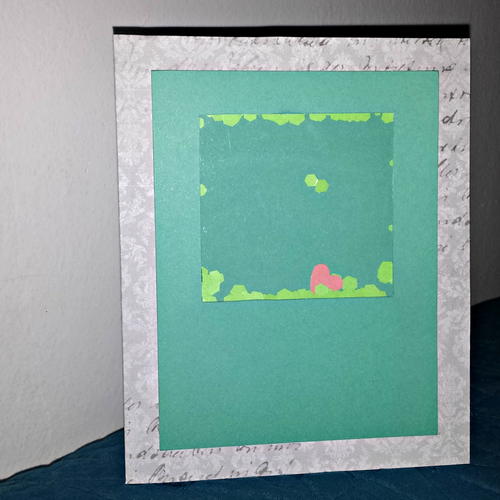
Cut out two pieces of cardstock: Gather your materials. If you need to cut your card and cardstock pieces, do that now. These two cardstock pieces can match the size and color of your card but they don't have to. If your card is 5" x 7", cut out two pieces of 5" x 7" cardstock. If you want a more dimensional look, you can cut these pieces smaller and then center it on the front of your card.
In this tutorial, the card is 5" x 7" but the cardstock has been cut to 4" x 6" so that there is 1/2" around. -
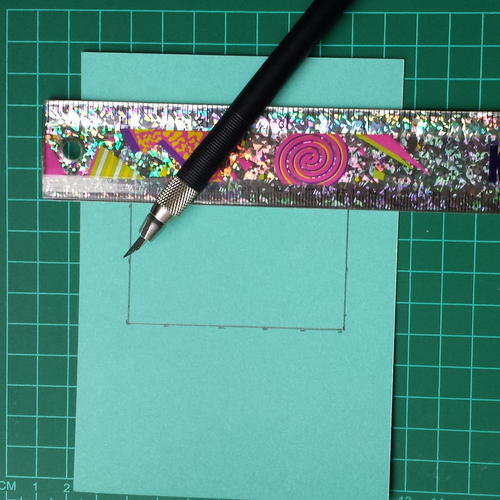
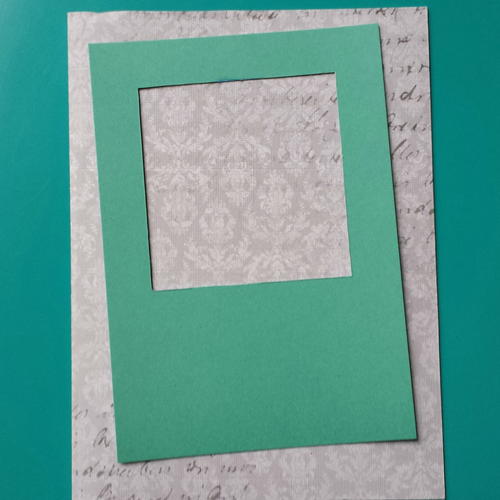
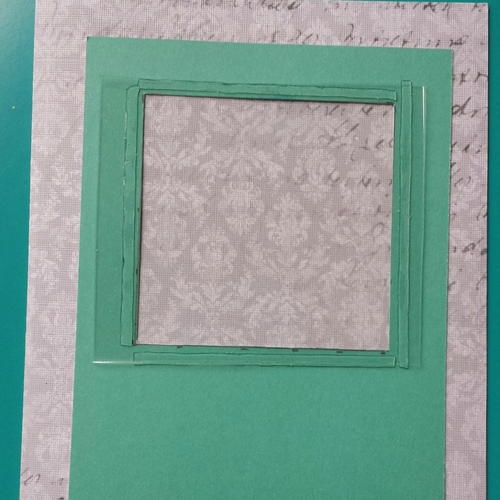
Cut out the window shape from one piece of cardstock: Your shape can be a square, rectangle, circle, or any other desired shape. Whatever your shape, it should be a few inches in diameter to fully incorporate the shake effect.
Note: You are not cutting from the front of the card. You will add this piece of cardstock with the shaker element to the front of your card once finished. -
Cover your window with clear plastic: Measure the opening of your window. Cut the plastic piece 1/2" larger so that it covers the window and overlaps by 1/4" on each side.
Run a thin line of glue on the four edges of the plastic and attach it to the inside of your window.
-
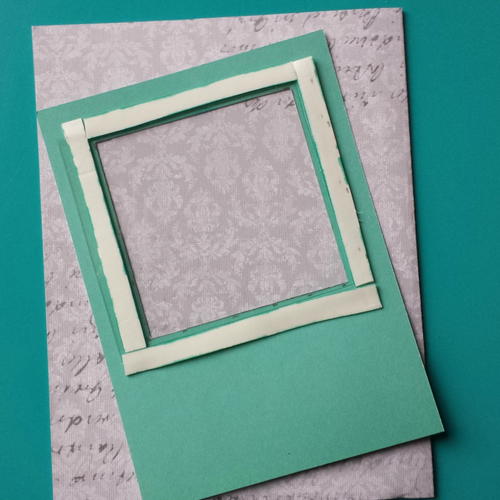
Create your window border wall: You need some depth to create a shaker effect, so you will need to build up the window area and then fill in the rest of the cardstock to even it out.
There are a few different ways to make a shaker card. This method uses foam tape to build up the window area of the shaker card. Other methods use cardstock to build up the window.
Simply create a frame by attaching four pieces of foam tape to the edges of your window (backside).
Note: If you have thick shaker materials, you may need thicker foam tape or to build a second layer. -
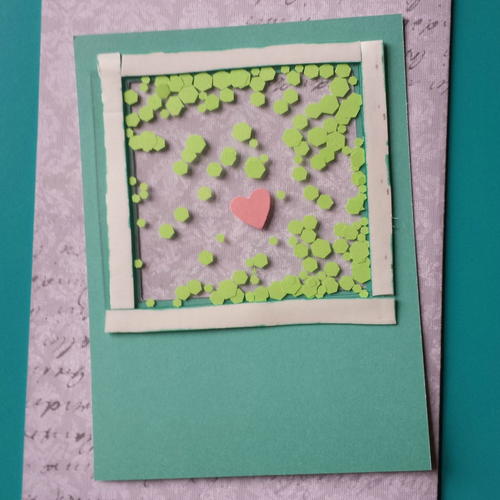
Fill the window with your shaker materials: You don't want to overfill the window with your materials, so make sure you leave some space for the materials to move around when the card is shaken.
-
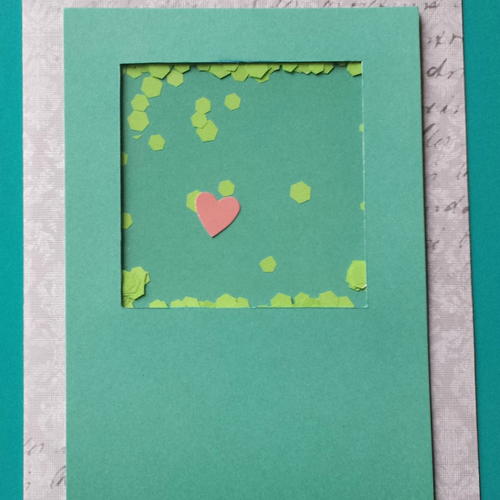
Attach the second piece of cardstock to cover your window: Use the second piece of cardstock that you cut in Step 1 to cover the back of the cardstock with the window. Line cardstock with glue and then line up the two pieces of cardstock evenly and press together.
-
Attach the shaker element to the front of your card: Apply glue to the backside of your shaker cardstock piece. Line up with the front of your card and adhere.
-
Finish your card: You can add embellishments, sentiments, and other messages as desired.
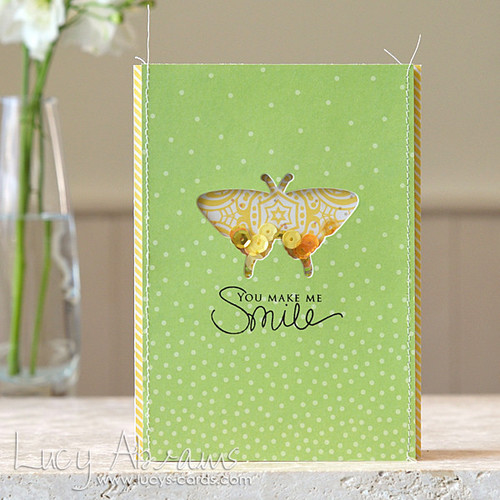
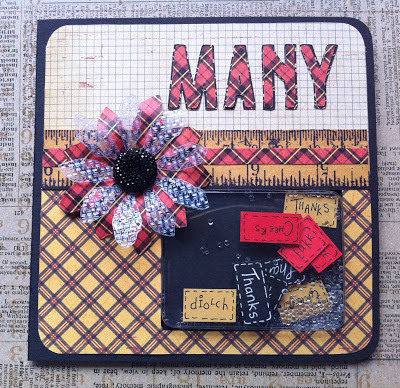
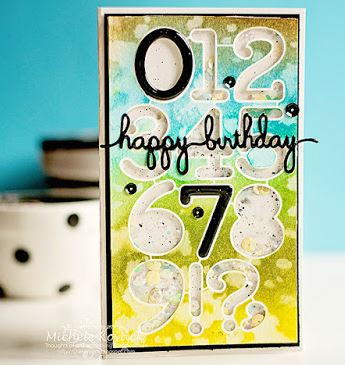
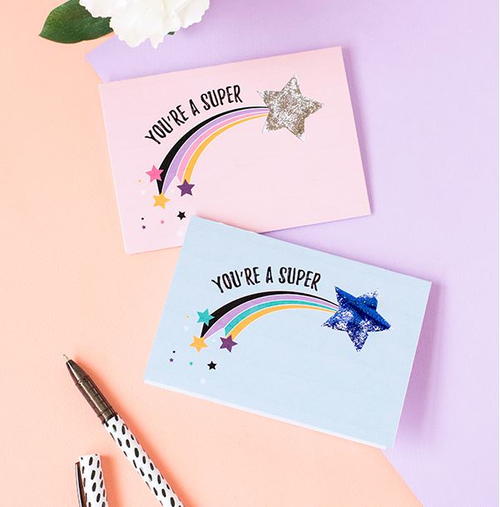
DIY Shaker Cards:
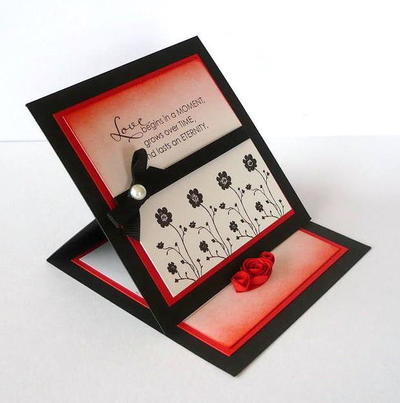
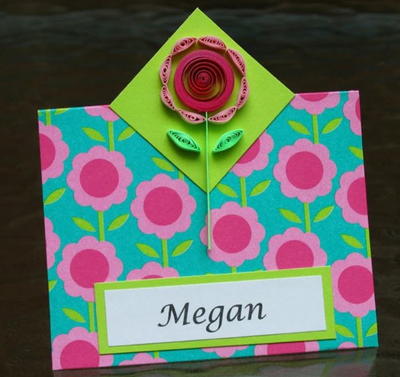
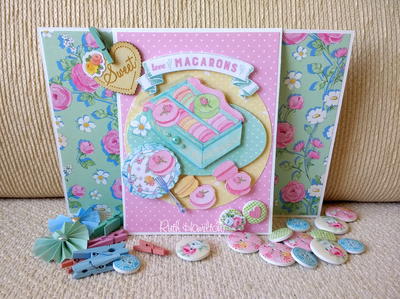
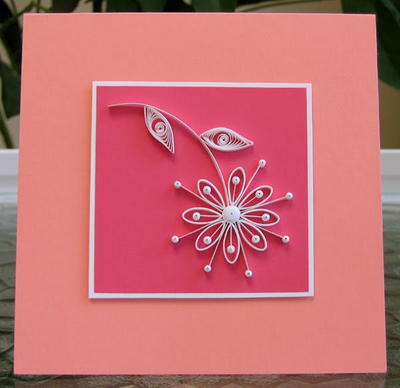
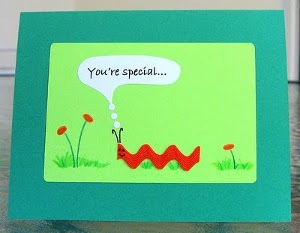
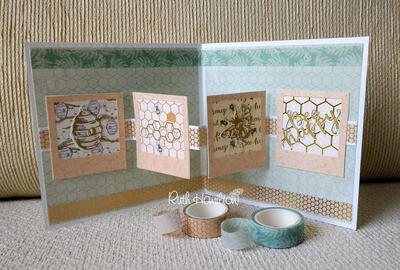
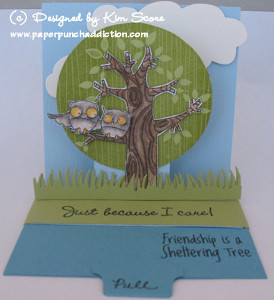
Below, find 5 beautiful and unique shaker card tutorials for you to make. There are so many ways to make a shaker card. Since each uses a different method, the examples below can also be used to inspire you for your own shaker cards.

Your Recently Viewed Projects

Thanks for your comment. Don't forget to share!
Daughter of Light
Jun 22, 2018
Wow! This shaker card tutorial is a great springboard for creativity! It's definitely given me the basics in one place and then I think it'll be fun to tweek it as I go. Here's what it sparked for me...a white card base with little shiny shamrock confetti to fill the inside. Then instead of a heart attached to the window a larger size glittery shamrock! Thanks for the inspiration!
Report Inappropriate Comment
Are you sure you would like to report this comment? It will be flagged for our moderators to take action.
Thank you for taking the time to improve the content on our site.