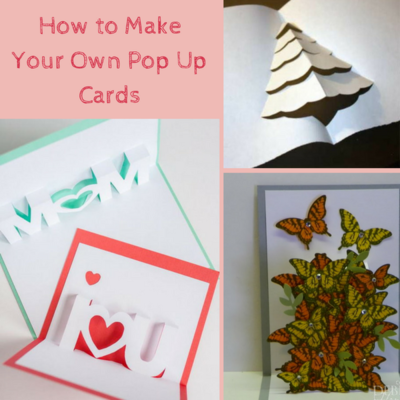
How to Make Your Own Pop Up Cards

On most occasions when you give someone a card, you’re probably not the only one doing so. Whether it’s their birthday, Christmas, or even a wedding, chances are they’ve been given plenty of cards that day. If you want to make an impression, you might want to learn how to make a pop up card. You want your card to stand out, and what better way to do that than with a pop up card that you made yourself? Pop up cards are great for going that extra mile and making your homemade card really, well, pop. If you’ve never made one before, don’t worry! This guide will teach you all about How to Make Your Own Pop Up Cards.
There are three basic techniques when it comes to making your own pop up card. Once you master them, you can play around with the dimensions and shapes to create a true masterpiece.
The Simple Square Cut
The first and most basic is the simple square cut.
1. Fold your paper in half and decide where you want to have your pop ups.
2. Draw two solid vertical lines the width you want your cut out to be. The lines should come straight up from the center fold line. Connect them with a dotted line at the top.
3. Cut along the solid lines. Score the dotted line, then fold the rectangle up over the line so you can see a space where it used to be. Crease the fold. Flip it and do the same on the reverse side.
4. Open the card to 90° and push the box you've made forward. Voila! You've made your first pop up!
The Rectangular Cut
The next technique is similar, but instead of making an even square, you'll be making an asymmetrical space behind your pop up. If you’re trying this for the first time, do a few practice rounds using graph paper to get the hang of it before you start making your cards.
1. Instead of starting by folding your paper in half, you're actually going to draw the rectangles first. Because the space behind the pop up is going to look like a rectangle rather than a perfect square, you don’t want your lines to be the same length on both sides of the fold. If you want your pop up to be tall and skinny, make the top half longer. If you prefer a pop up that goes out more than up, make the bottom half longer. Once again, make your vertical lines solid and connect them with a dotted line.
2. Once you’ve drawn your lines, you need to figure out where you’re going to fold your pop up. Start by measuring how long the shorter half is. Take that number and apply it to the other half, working from the dotted line towards the fold. For example, let’s say you’re working on graph paper and your bottom half is three squares while your top half is eight. You would place your fold line three squares down from the top.
3. Cut along the solid lines. Score the fold lines, then lightly fold your card in half, but don’t crease it yet. First, you need to push your rectangle forward, folding it at the line you marked in Step 2. As you do this, you can crease the center fold.
4. When you open the card to 90°, you should have your pop ups.
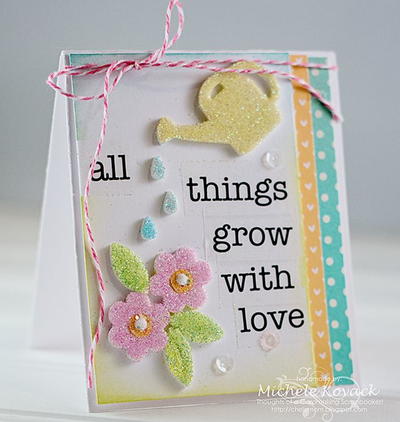
The rectangular cut is great for making letters, like with these I Love You and Mom Pop Up Cards.

The V Fold
The final basic technique is known as the V fold for the shape it makes when you pop it out. The main difference between the square cuts and the V fold is that the former has two cut out sides whereas the V fold only has one. Other than that, it’s a very similar concept to the simple square cut.
1. Fold your paper in half and decide where you want your pop up to be.
2. Draw one solid line perpendicular to the fold and a dotted line diagonal from the top of the solid line to the fold.
3. Cut along the solid line. Score the dotted line, then fold the triangle across it. Crease the fold, then flip it and do the same thing on the other side.
4. Open your card and push your cut out forward.
A fun experiment with the V fold is to try doing a cut on both sides, Carol from Extreme Cards and Papercrafting recommends. As long as one side is always longer than the other, you’ll get a V shape rather than a square.
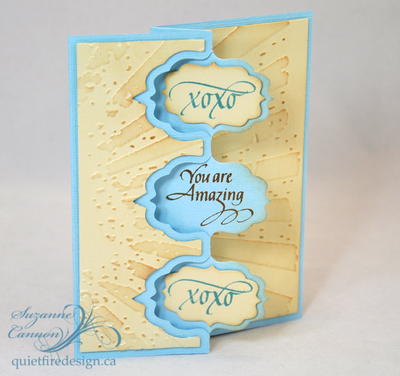
This Pop-Up Greeting Card for Christmas is a great example of what you can do with a V fold.

General Tips and Tricks
1. Cuts shouldn’t be longer than half the length of the card or else they pop up will stick out from the end.
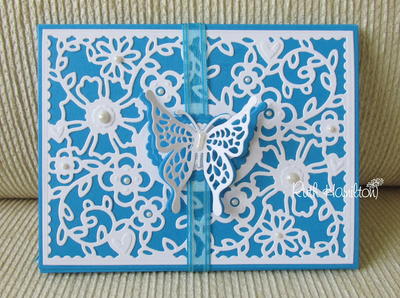
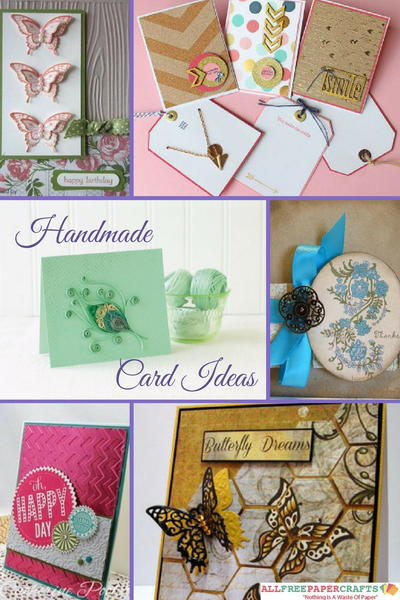
2. While you can experiment with shape and size to get the exact cut out you want, an easier way would be to make a square or rectangular cut and glue your desired design to the front of it, like with this gorgeous butterfly card.
3. When it comes to how to incorporate your pop ups into the card, consider which way your card is facing. If you have a card that folds horizontally, your pop ups will have a top and a bottom, making them ideal for gluing a different design to the front. The rectangular cut is ideal for this format. If you have a vertical card with a left and right side, the folds are better incorporated as their own design elements, making the symmetrical square cut and V fold better options for your vertical card.
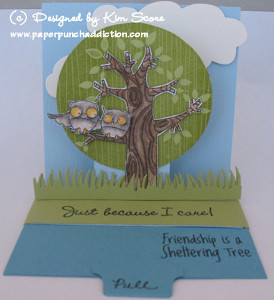
Read NextJust Because I Care Pop Up Card
Your Recently Viewed Projects
Thanks for your comment. Don't forget to share!
Blando Calrissian
Aug 08, 2018
I haven't tried making pop-up cards before but this guide has inspired me! There are even some ideas I think I can pull off easily!
Report Inappropriate Comment
Are you sure you would like to report this comment? It will be flagged for our moderators to take action.
Thank you for taking the time to improve the content on our site.