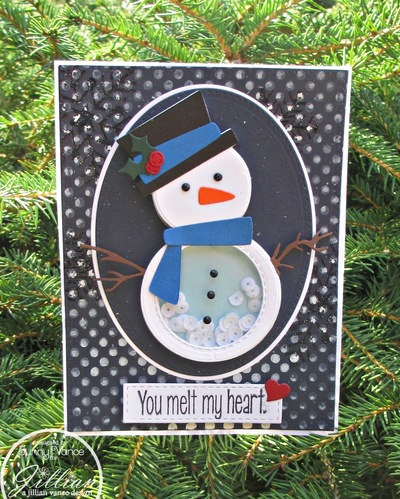
You Melt My Heart Snowman Shaker Card
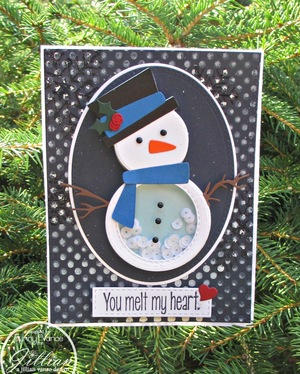
Learn how to make a shaker card! The You Melt My Heart Snowman Shaker Card is a fantastic card making tutorial for the winter season. Whether you want to send this card to loved ones for Christmas or Valentine's Day, this card is a great fit! The sentiment is touching, and the tutorial simply cannot be beat. If you've never made a shaker card before, you are in for a treat. Learn all of the necessary tips and tricks to making this exciting dimensional card. Your loved ones are sure to appreciate it!
Materials:
A Jillian Vance Design Products Needed:
- Sam E. Snowman Shaker Die Set Snowman, inner circle, hat scarf/hat band nose, holly
- Basic Rectangle Backdrop Die Set largest die
- Polka Dot Rectangle Backdrop Die Set largest die
- Basic Oval Backdrop Die Set largest die
- Polka Dot Oval Backdrop Die Set largest die
- Frosty Stamp and Die Collection (sentiment and heart die cut)
- Tranquil Tree Die (snowman arms)
- Vintage Frame Die Set (sentiment strip)
- Simply Snowflakes Stamp Set (clear embossed for background)
- Dainty Dots Background Builder Stamp
Other Supplies:
- WorldWin Papers
- Ranger Ink Clear Embossing Ink
- Ranger Ink Clear Embossing Powder
- Ranger Ink Distress Spray Stain in Picket Fence
- Scrapbook Adhesives by 3L EZ Runner and 3D Foam Squares
- Quick Dry Glue by 3MWant2Scrap Baby
- Bling in Black (for eyes and belly buttons)
- Sequins
- Acetate sheet
Instructions:
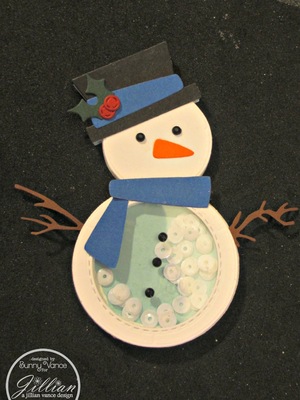
1. Cut a Sam E. Snowman Shaker Die out of each: card stock, acetate sheet and craft foam.
Tip: I layer the card stock and craft foam and cut together for a perfect fit.
2. Cut hat, nose, scarf, and hat band out of desired colored card stock. I chose the Holly for his hat (other options come with this die set). I used the Tranquil Tree Die for the arms.
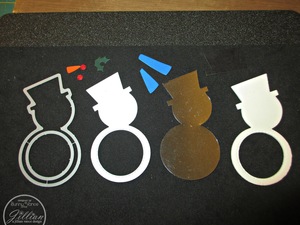
3. Assemble snowman shaker by layering outer card stock, acetate sheet, craft foam die cut shape.
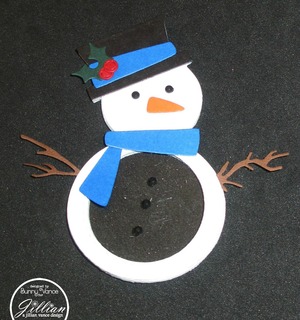
4. Add sequins then layer backing on top of the sequin/foam sandwich. I used a light blue paper for the back of the shaker to show off the white sequins.
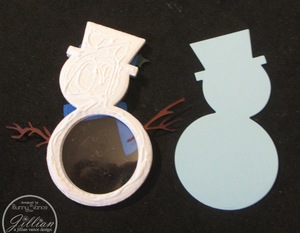
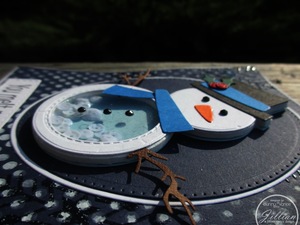
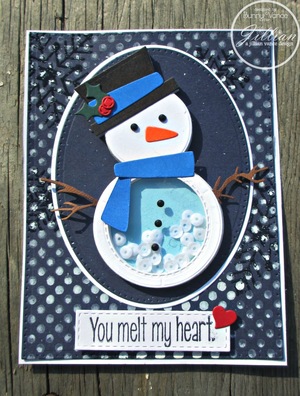
Here is the completed Snowman shaker:
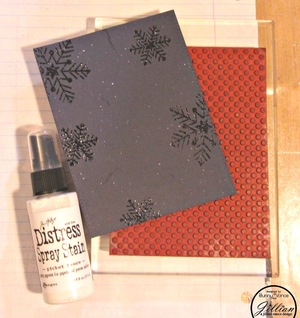
5. To create the background, I used Simply Snowflakes Stamp Set and clear embossed with Ranger Ink Embossing Ink and Clear Embossing Powder onto navy card stock cut using the largest Polka Dot Rectangle Backdrop Die, and then I used Distress Spray Stain in Picket Fence onto the Dainty Dots Background Builder Stamp, stamped onto the card stock then dried with the heat gun to give the effect of little snowflakes.
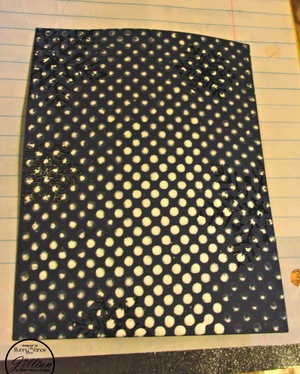
6. Cut the largest Basic Rectangle Backdrop Die out of white and adhere the Navy embossed/stained piece on top.
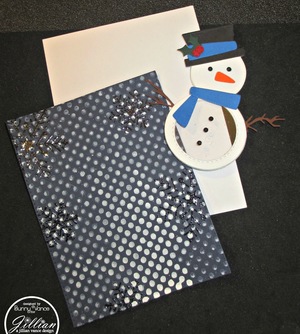
7. Cut the largest Basic Oval Backdrop Die Set out of white and layer onto the Polka Dot Oval Backdrop Die Set out of Navy card stock, layer together and adhere.
8. Adhere Oval layers onto the card base of Navy and White card stock.
9. Adhere the assembled Snowman Shaker onto the oval layer.
10. Die cut sentiment strip from the Vintage Frame Die Set, stamp sentiment from the Frosty Stamp and Die Collection and add heart die cut from the Frosty coordinating die. Pop out using Scrapbook Adhesives by 3L Foam Squares.
And there you have a Darling Snowman Shaker card!
BONUS! Read our review of the Sam E. Snowman Shaker Die Set which was used to make this card.
Read NextOne-Sheet Printable Pop-Up Cards

