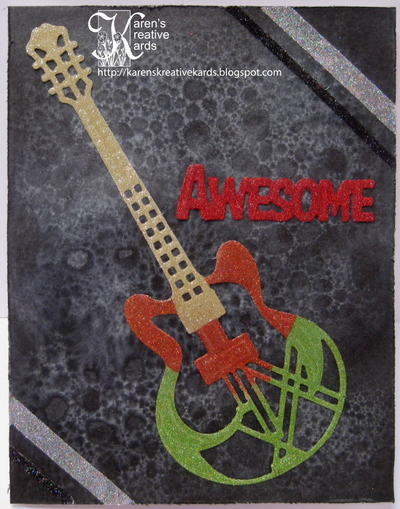
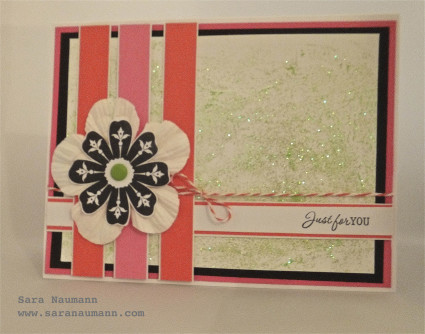
Awesome Soap Bubbles and Glitter Card

None of us like to wash dishes or pots and pans by hand, right? But we all have dish soap on hand for those times when we have to. I am going to share a fun way to use dish soap to make grungy creative backgrounds for our cards.
Use this unique card technique to decorate handmade cards for any occasion, from birthdays to thank you and everything in between. Change up the ink color to make it more masculine or feminine to match the style you're looking for.
Estimated Cost$11-$20
Time to CompleteIn an evening
Primary TechniqueMixed Media
Project or Page SizeCard
Type of Paper UsedCardstock

Materials List
- Dish soap and container for water
- Big paint brush or other stirring stick
- Dark Colored Ranger Distress Inks (Black Soot used in this card)
- Heavy white cardstock
- Sponge
- Tonic Studios Tim Holtz Distresser
- Tonic Studios Rococo Electric Guitar Die
- Tonic Studios Miniature Moments Awesome Die
- Nuvo Sparkle Dust Ultrafine Glitters in Gold Shine, Fresh Kiwi, Cinnamon Spice, Black Magic and Silver Sequin colors
- 1/8" and 1/4" Scor-Tape and Sookwang sheets
- Tonic Studios Tangerine Die-Cutting Machine
- Nuvo Deluxe Fine Tip Adhesive Glue
Instructions:
-
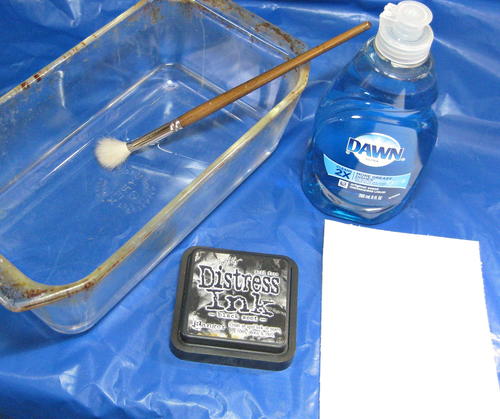
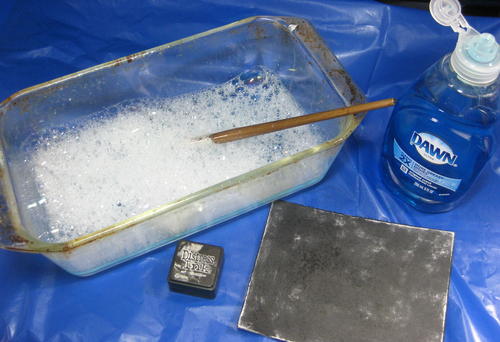
Gather up some dish soap (any brand will do as long as it creates great bubbles) and a stirring tool of some kind. I used an old bigger paint brush. You will want a piece of heavyweight good quality cardstock and a dark shade of Ranger Distress Ink.
You could try any color of Distress Ink, but I found the darker shades work best for this technique. (I also tried the new Ranger Distress Oxide inks, but thought they were not dark enough to show the bubbles well.) It is key to use Distress Inks, though, because they react with water and in this case, soapy water bubbles. -
Apply the dark Ranger Distress Ink direct to paper or use a Distress Tool or sponge covering all of the cardstock. I chose to distress the edges of my piece with Tonic Studio’s Tim Holtz Distresser before applying the Black Soot Distress Ink direct to paper.
-
Mix a little water with your dish soap with a brush or stir stick until there are many bubbles.
-
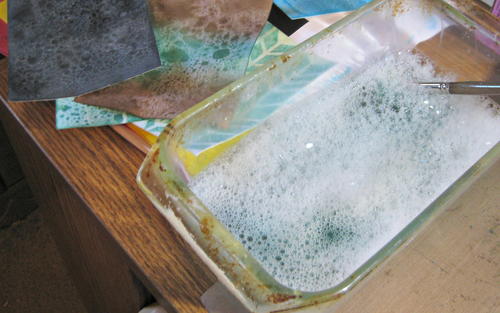
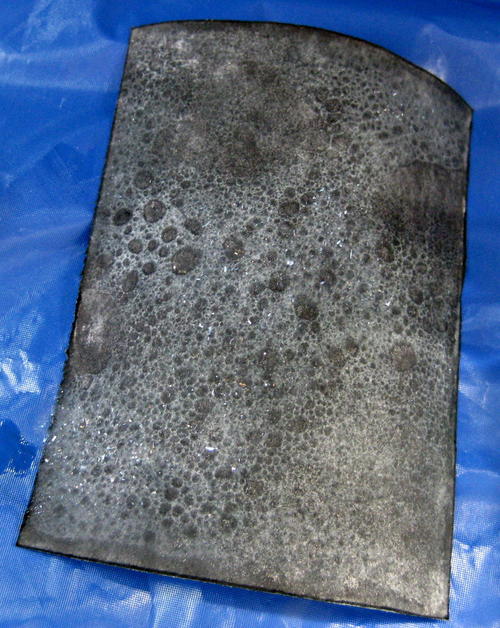
Push the Distress Ink covered cardstock with the inked side down into the soap bubbles until it is covered with soapy bubbles. They will start immediately to react with the Distress Ink creating a grungy fun background.
-
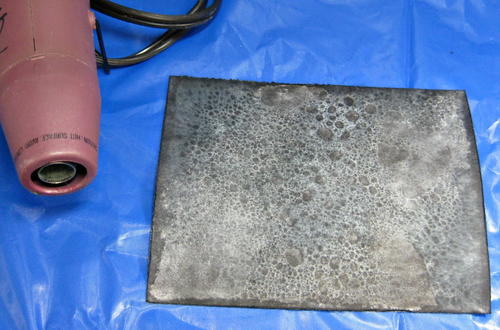
Dry the piece with a heat gun. I was having way too much fun to stop with just one black bubbles background. To see some of the cards I created with the other soap bubble backgrounds I made, visit here on my blog.
-
Once the piece is completely dry, attach it to a cardbase and decorate as desired. I sponged around the edges of my card front with Ranger Black Soot Distress Ink to darken and emphasize the distressed edges.
-
Adhere a piece of 1/4" Scor-Tape diagonally to the top and bottom corners of the black bubble cardfront and burnish ultra-fine silver Nuvo Sparkle Dust glitter into it. Repeat with 1/8" Scor-Tape and black ultra-fine glitter.
-
Diecut Tonic Studio’s Electric Guitar and Awesome sentiment dies out of Sookwang two sided tape sheets. Remove the top piece and burnish in various colors of Nuvo Sparkle Dust Ultrafine Glitter. Attach the guitar and "awesome" sentiment to the card front with Nuvo Fine Tip Deluxe Adhesive.
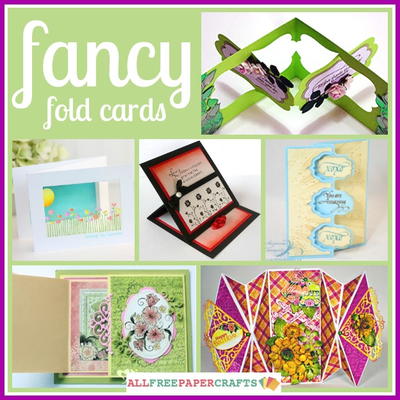
Read NextOne-Sheet Printable Pop-Up Cards