How to Make a Pop-Up Card
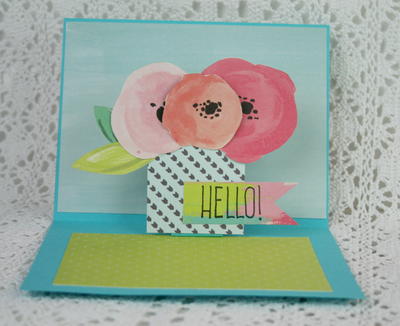
This card idea is for a fresh floral fancy fold card with a POP!

Pop-up cards can be a lot of fun to give and to receive but can feel overwhelming to try and create on your own. Learn how to make a Pop-Up Card with this tutorial. Using the simple folded cube technique below, you can easily create a similar DIY card or create dozens of variations of your own everything from pop-up butterflies to pop-up t-rexes!
This 3D card tutorial features beautiful pink flowers popping out from the inside. It works for nearly all occasions so you will want to make a few while you're at it.
Estimated Cost$11-$20
Time to CompleteIn an evening
Primary TechniquePaper Crafts
Project or Page SizeCard
Type of Paper UsedCardstock

Materials List
- Paper trimmer
- Craft knife
- Floral tools
- Adhesive tape runner
- Stamps (1532E)
- Cardstock
- Patterned paper (floral)
- Self-Healing craft mat
- Stamping block
- Black ink
Instructions:
This tutorial was created using products from Tonic Studios.
-
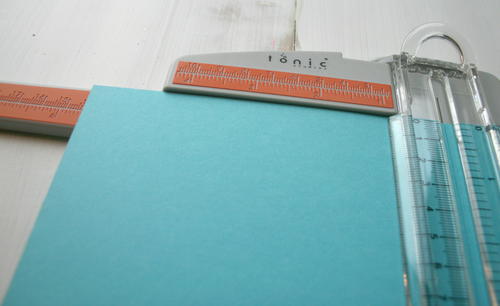
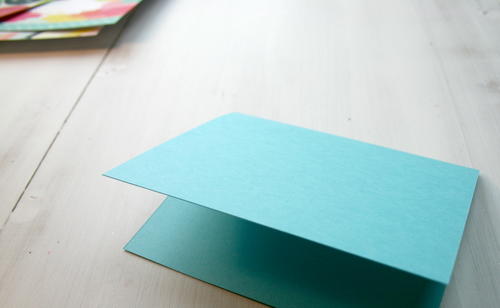
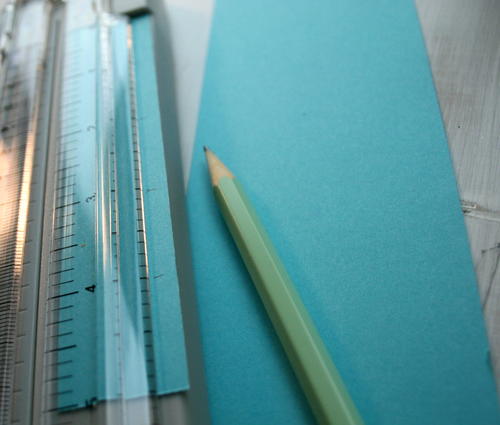
Cut a piece of cardstock to 8-1/2" x 5-1/2" and then fold down the middle.
-
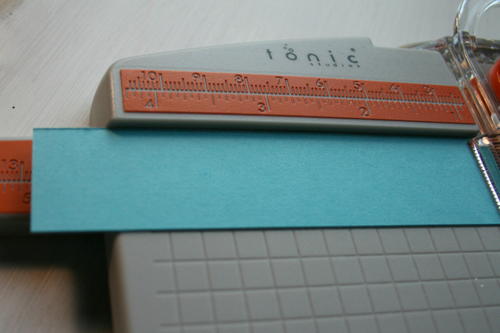
Cut an extra piece of cardstock to 5" x 1".
-
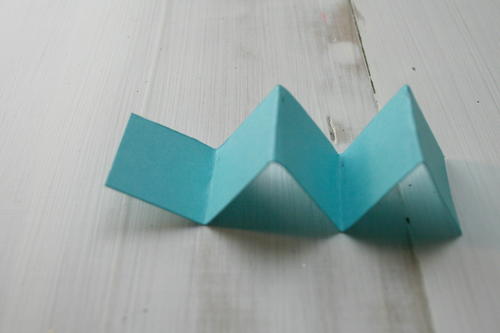
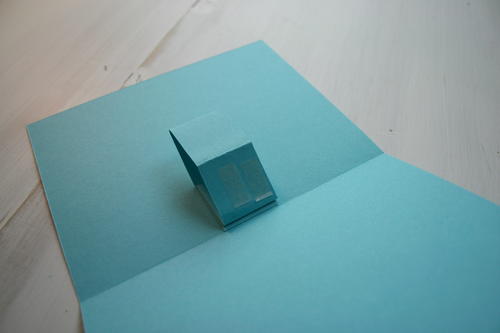
Mark at 1" increments and then fold to make an accordion shape as shown in the second image below.
-
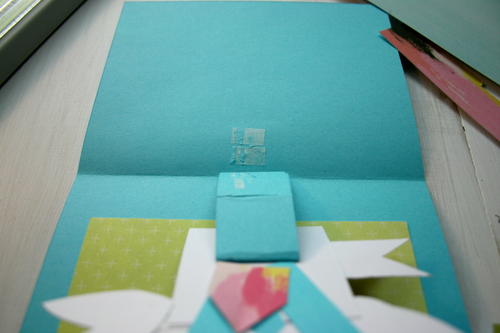
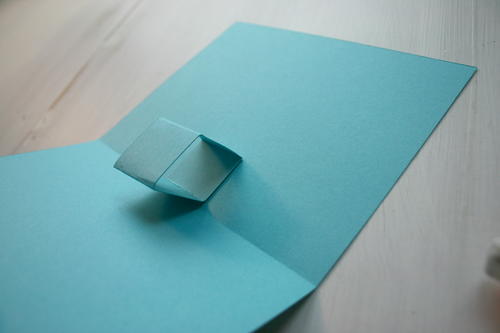
Adhere one of the folded sections to the bottom middle of the top portion of the inside of the card.
Note: If you are going to add in a fun patterned paper background, do this now or you will end up having to remove this later (second image below) to put it on when you are done. -
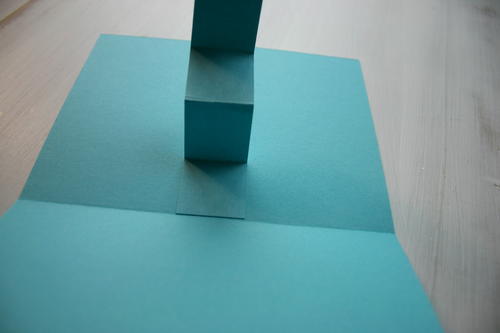
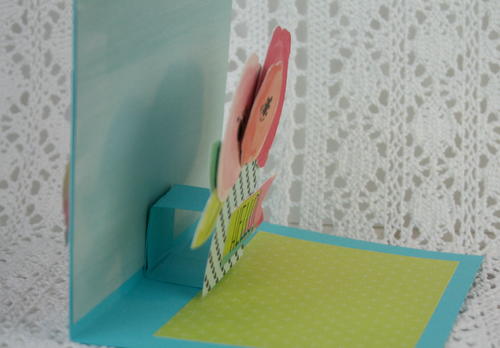
Fold the rest of the piece to be a box, adhering the last panel to the first.
-
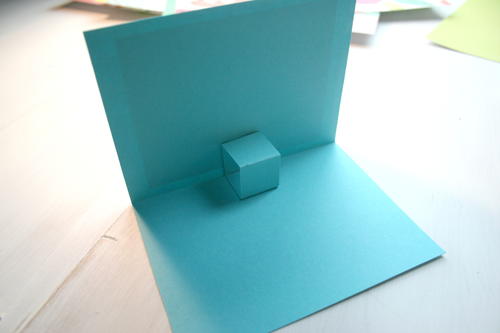
Adhere the bottom of the cube to the top middle portion of the bottom half of the card as shown below.
-
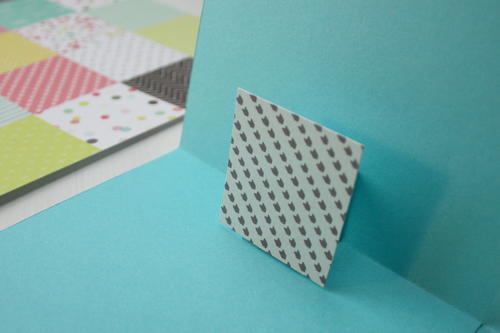
Cut a fun patterned paper square (approx. 2-1/2" x 2-1/2") and adhere to the front of the square box. This will be the base to work from for the pop-up.
-
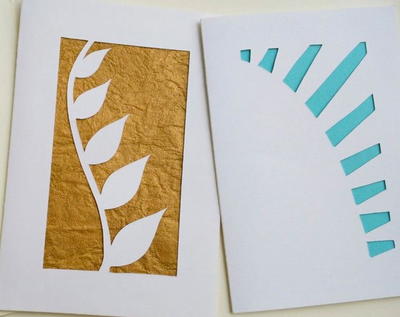
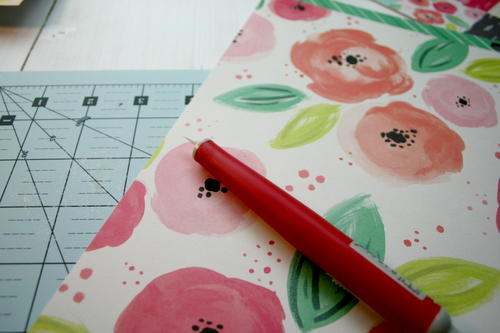
Using your knife and craft mat, cut 4 flowers and 4 leaves from the floral patterned paper.
-
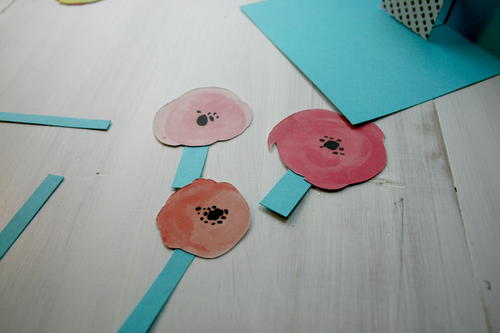
Adhere 3 of the flowers to scraps of the cardstock (the scraps will resemble stems).
-
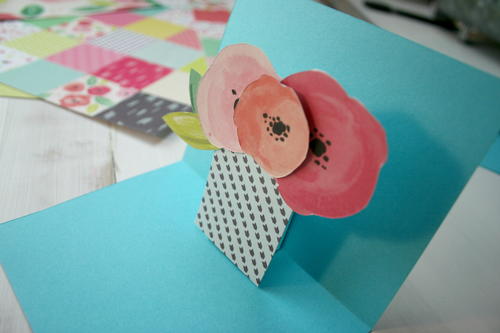
Adhere the flowers to the back of the base, hiding the strips of cardstock behind the patterned square, turning it into a vase. Add the leaves as desired.
-
Stamp a "hello" sentiment or sentiment of choice onto patterned paper.
-
Cut it with paper trimmer to look like a mini flag and then adhere to the vase.
-
Cut and insert patterned paper for which to write your inside card message if desired.
-
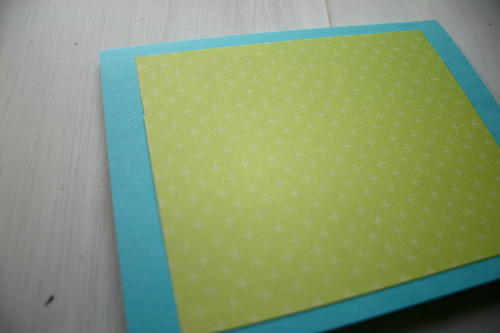
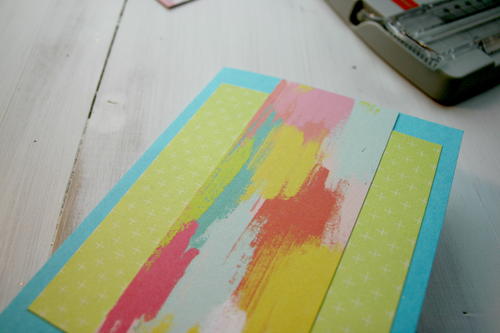
Cut paper for the front panels, then layer and adhere as shown below.
-
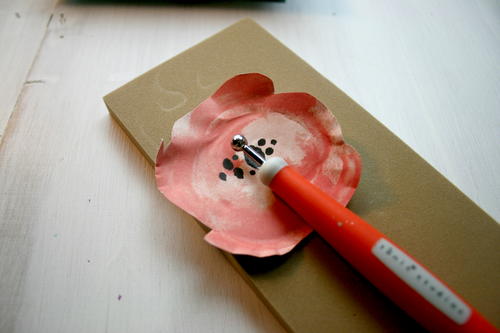
Take the floral tools and add dimension to the remaining flower and leaves you had cut out.
-
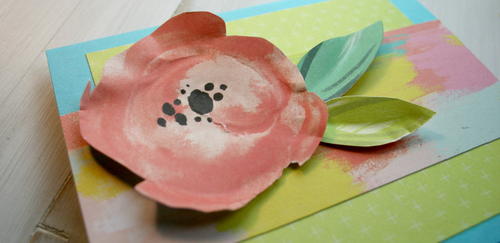
Adhere your flower and leaves to the front of the handmade card.
-
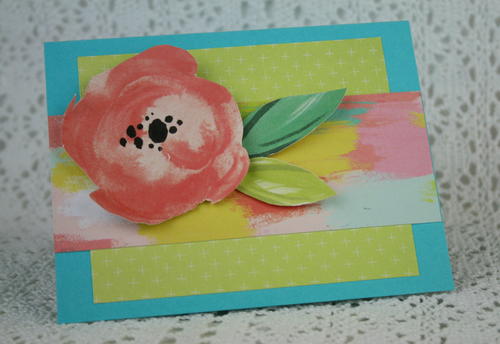
You are finished! Admire and test out your finished DIY 3D card.


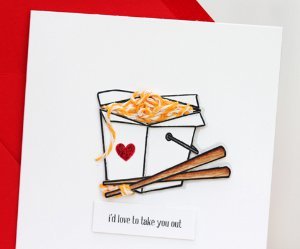
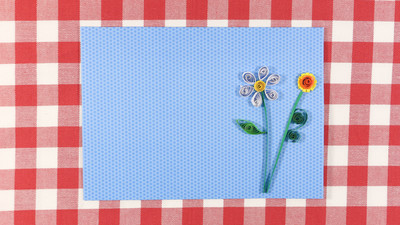
Read NextQuilled Flowers Card