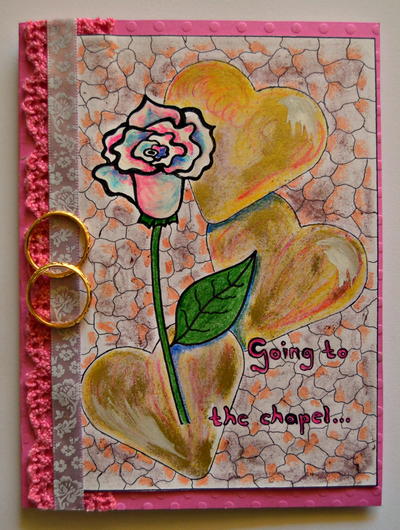
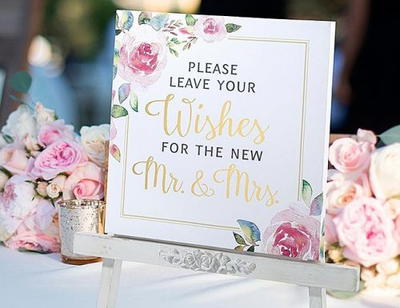
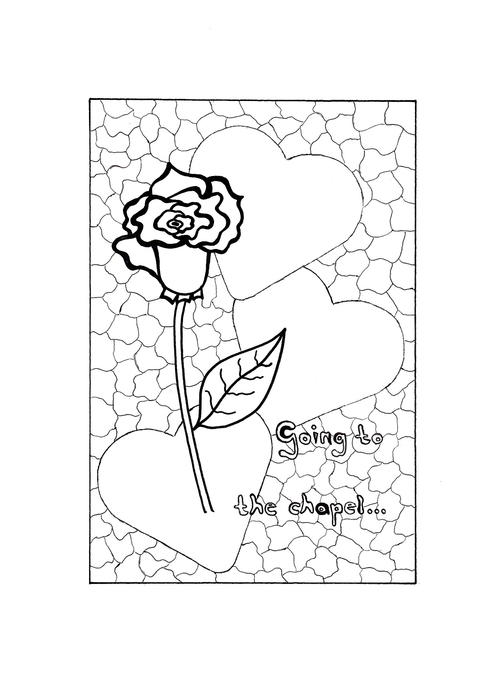
To the Chapel DIY Wedding Invitation

When planning for a wedding, the idea is to organize an event that will reflect your personality. What can be more fitting for such an occasion than to turn a mini adult coloring page into a stunning yet modern wedding invitation?
This To the Chapel DIY Wedding Invitation project can fit with any color combination and can be the start of a wedding ceremony filled with beautiful memories. Plus, the relaxation that comes with designing and decorating in free printable coloring pages like the one on this card will help destress you before the wedding.
Estimated CostUnder $10
Time to CompleteIn an evening
Primary TechniquePaper Crafts
Project or Page SizeCard
Type of Paper UsedCardstock

Materials List
- Printout of mini adult coloring page
- 9" x 6" hot pink textured cardstock, cut from 12" x 12" scrapbook cardstock
- 1"-wide dark pink lace ribbon
- 0.3"-wide light purple satin ribbon, with small white roses printed on the ribbon
- 2 gold colored split metal wedding rings
- Watercolor pencils (a 24-color set of Marco Raffine pencils were used in this version)
- Rolkem gold dusting powder
- Bronze gilder’s paste wax
- Cotton ear buds
- Paintbrush
- Quick-drying craft glue (such as Bostik Clear)
- Scissors
- Pencil
- Ruler
Instructions:
-
Click here to download a copy of the design. Use paper with a medium weight and print the adult coloring design.
-
First color the background. Use a soft pink pencil on certain areas and work dry on dry (use the pencils as is, do not wet the pencils or the paper), and then apply gilder’s paste with cotton ear buds to the background.
-
Now color the hearts, using gilder’s paste and ear buds, and yellow ochre, carmine and cobalt pencils. Tip: Use an ear bud and Vaseline to blend and soften the colors, and afterward, blot the design with a piece of sugar paper.
-
Color the letters with a dry cerise pencil.
-
Finally, color the rose, stem and leaf, working wet on dry (slightly wet the tip of the pencil before coloring).
-
Use the paintbrush and the gold dusting powder to add a gold shimmer to some areas of design, and then cut out the design.
-
Score the 9" x 6" hot pink textured cardstock to create a card sized 4.4" x 6".
-
With the fold at the left, glue the lace ribbon to the right of the card’s fold. Glue the light purple ribbon on top of the lace ribbon, and cut off any protruding edges.
-
Glue the colored design to the front of the card, and finish it off by gluing the two rings to the card.
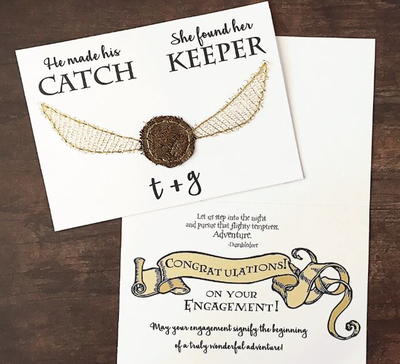
Read NextBlack and Gold Wedding Invitation