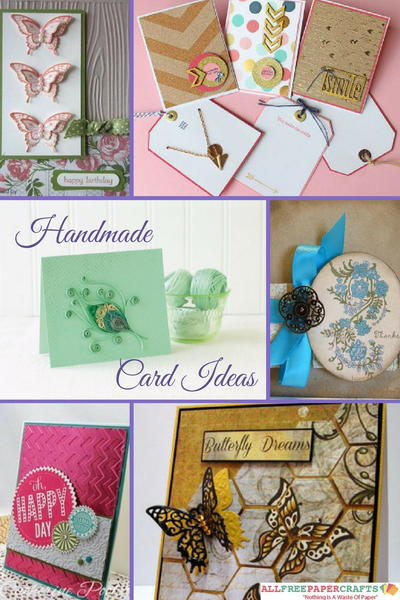
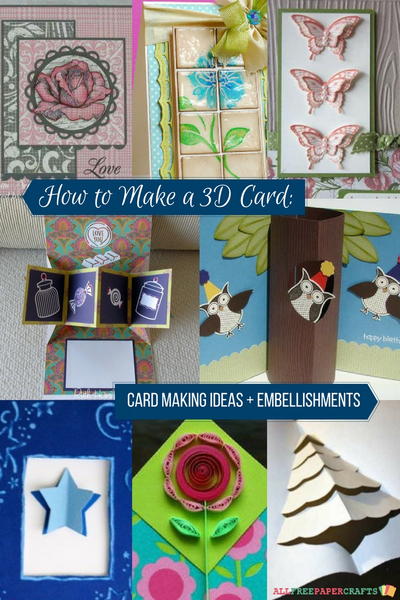
So Sweet Baby Card

If you have a friend who's expecting a child, they've likely received a mountain of cards wishing them well. Stand out from the crowd with this So Sweet Baby Card. This homemade card is sure to put a smile on your friend's face. She'll definitely appreciate the extra effort you put in. And who knows — if she's the kind of person to hang on to keepsakes, she might even show it to her future child one day. Whether you bring it to her when the baby is born or give it to her earlier as a baby shower card, she'll be certain to cherish it.
Estimated Cost$11-$20
Time to CompleteIn an evening
MaterialsClay
Primary TechniqueGeneral Paper Crafting
Project or Page SizeCard
Type of Paper UsedCardstock

Project TypeMake a Project
Materials List
- 1 bar SculpeyIII
- Sculpey Acrylic Roller, 8"
- 3 Sheets of Patterned Paper
- 3 Sheets of Solid Cardstock: Pink, Cream, Polka Dots
- Ribbon
- Pink Twine
- Ink– Dark Brown
- Self Adhesive Crystals & Pearls
- Ultrafine Glitter
- Glue Pen
- Paper Cutter, Scissors
- Label Die Cut
Instructions
-
Do not use unbaked clay on unprotected furniture or finished surfaces. Start with clean hands and work surface area. Good work surfaces include wax paper, metal baking sheet, or disposable foil. Knead clay until soft and smooth. For best results, clean your hands in between colors.
Shape clay, pressing pieces together firmly. Bake on oven-proof glass or metal surface at 275 °F (130 °C) for 15 minutes per ¼" (6 mm) thickness. For best baking results, use an oven thermometer. DO NOT USE MICROWAVE OVEN. DO NOT EXCEED THE ABOVE TEMPERATURE OR RECOMMENDED BAKING TIME. Wash hands after use. Baking should be completed by an adult. Begin by preheating oven to 275 °F (130 °C). Test temperature with oven thermometer for perfectly cured clay. For best results, condition all clay by running it through the clay dedicated pasta machine several passes on the widest setting. Fold the clay in half after each pass and insert the fold side into the rollers first. -
Condition and mix together one part White, one part Granny Smith & three parts Light Blue Pearl. This will give you a custom blue.
-
Dust desired letters on the Alphabet Mold using a paint brush and cornstarch. Tap out excess.
-
Press a VERY SMALL ball of custom colored clay into the desired letters. Smooth edges and be sure clay is level with the top of the mold. Press clay out of mold by putting pressure on back side of mold.
-
Condition 1/4 bar of Ballerina and roll out a sheet about 1/8” thick. Use the Baby Mini Metal Cutters to cut out various shapes.
-
Roll out the remaining custom colored clay and cut out same shapes as used for previous step.
-
Bake all clay pieces according to the manufactures directions. Once fully cool embellish pieces using glue pen and glitter as well as self adhesive pearls and crystals.
-
Create a 4 1/2” x 6 1/4” card base using light pink solid colored cardstock. Cut mat for front of card using polka dot patterned paper. Cut strip of bigger patterned paper and layer onto right side of card.
-
Create two tags by cutting strips of patterned paper, embellish the ends by cutting a “v” shaped notch into the paper. Layer the tags with another color of paper (slightly smaller) on top, notch the ends. Glue the layers together. Adhere the custom colored, embellished clay to the tags.
-
Die cut a shape out of cream cardstock and distress the edges using ink. Cut a hole on both sides of the shape. Run a length of ribbon through holes on shape and tie ribbon around bottom of patterned paper panel. Adhere letters “BABY” to center of die cut. Embellish points of die cut using pearls & crystal. Adhere panel to card.
-
Cut a short length of twine and tuck one end under top right edge of panel. Tuck second end under left side edge of panel. Adhere clay embellishments along length of twine as shown. Adhere pink duck to center of knot on bow to complete card.


Read NextCharming Shutterbug Camera Card
Your Recently Viewed Projects
Thanks for your comment. Don't forget to share!
Princess Carolyn
Jul 27, 2017
I have some baby showers to attend soon, and I love the idea of making this card! I think I'll have to be careful not to bring the new mama to tears with a gift this sweet.
Report Inappropriate Comment
Are you sure you would like to report this comment? It will be flagged for our moderators to take action.
Thank you for taking the time to improve the content on our site.