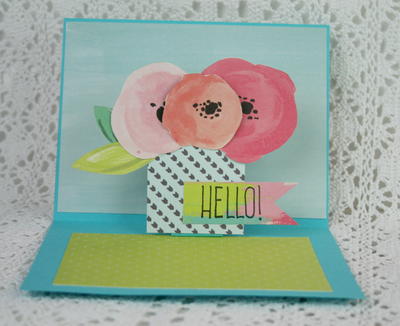
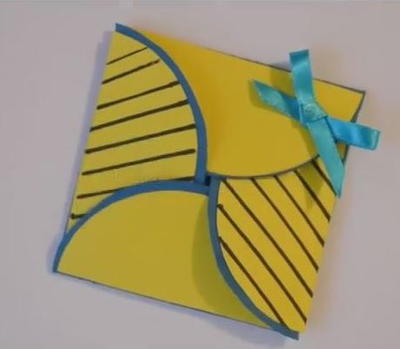
Twist Easel Card Project

If you've been looking for a fun project to step up your paper crafting game, then you'll love this simple Twist Easel Card Project! This easy card making tutorial is a fantastic new project from our friends at Ecstasy Crafts and shows you how to create your own twist easel card that stands on its own.
This DIY twist easel card includes step-by-step directions and comes with a printable PDF for creating your card, so that you don't have to worry about any guesswork. Whether you're creating a special occasion card, DIY birthday card, or just want to show off your paper crafting skills, you'll fall in love with this fancy fold card tutorial.
Follow Ecstasy Crafts on Facebook, Pinterest, or YouTube for even more crafting inspiration!
Estimated CostUnder $10
Time to CompleteIn an evening
MaterialsPaper
Primary TechniqueGeneral Paper Crafting
Project or Page SizeCard
Type of Paper UsedCardstock

Project TypeMake a Project
Materials List
- 3 sheets of cardstock
- Glue stick (or alternative)
Making the Top of the Card
-
Ensure you have two different colours of cardstock. Take one of the sheets of cardstock and cut the following squares: 5" x 5" and 4.5" x 4.5".
-
With the contrasting coloured cardstock, cut the following squares: 4.75" x 4.75" and 3.75" x 3.75".
-
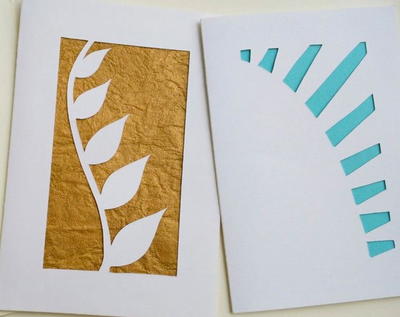
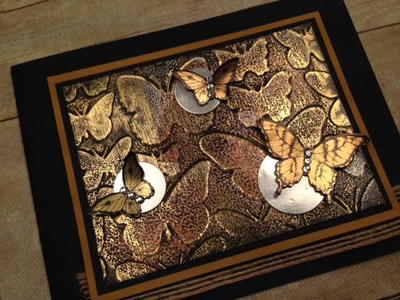
Cut your centerpiece image so that it fits within a 3.5 inch by 3.5 inch square.
-
Layer the squares using an adhesive of your choice, like a glue stick or double-sided tape. Stack the squares from smallest to largest, using your picture first.

Making the Bottom of the Card
-
Take your dark coloured cardstock and cut a 4.5 inch by 4.5 inch square.
-
Take your contrasting coloured cardstock and cut the following squares: 4.75" x 4.75" and 4.25" x 4.25".
-
Layer the squares in order from smallest to largest using an adhesive of your choice.

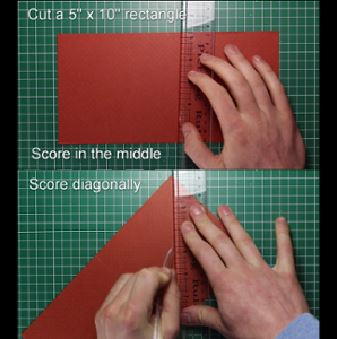
Making the "Easel"
-
Cut a 5 inch by 10 inch rectangle from the dark coloured cardstock.
-
Score the cardstock in the middle to make two 5 inch by 5 inch squares, then again across one of the diagonals.
-
Fold across the diagonal and attach the top of the card to this triangle using the adhesive of your choice.
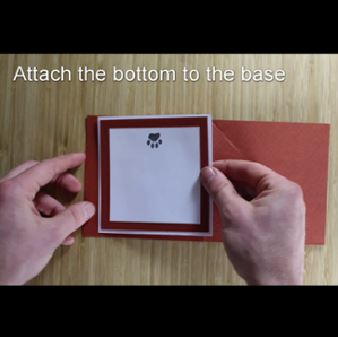
-
Flip the easel over, so the top of the card is pointing down (and it is lying flush). Attach the bottom of the card to the base of the easel.
-
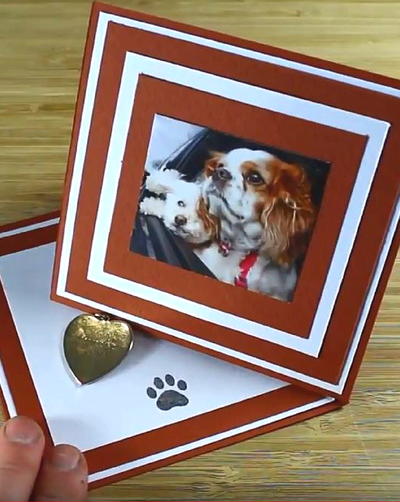
Fold across the diagonal again and along the middle of the card, so the top of the card stands up using the base.
-
Personalize your card with a message or greeting of your choice.
Tip: Use a small object (like a button) on the base of the card to prop up the card.
What types of card making tutorials would you like to see on AllFreePaperCrafts? Let us know below in the comments!
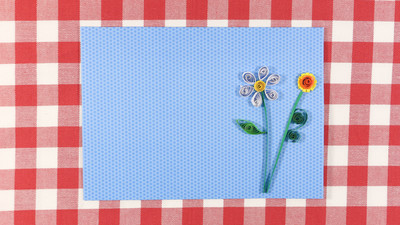
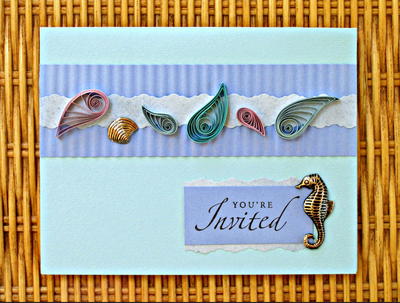
Read NextQuilled Flowers Card
Your Recently Viewed Projects
Thanks for your comment. Don't forget to share!
Daughter of Light
Aug 09, 2018
Oh my goodness! I feel like I hit the jack pot today and I didn't even place a bet! This is such an awesome card idea! I love it...love it...love it! There are soooo many ways to change it up to make it my own! I can change the colors, the picture, the sentiment and the embellishment that you prop the card against at the bottom! That's what I like about crafting...sooo easy to make it my own! Thanks for the idea!!!
Report Inappropriate Comment
Are you sure you would like to report this comment? It will be flagged for our moderators to take action.
Thank you for taking the time to improve the content on our site.