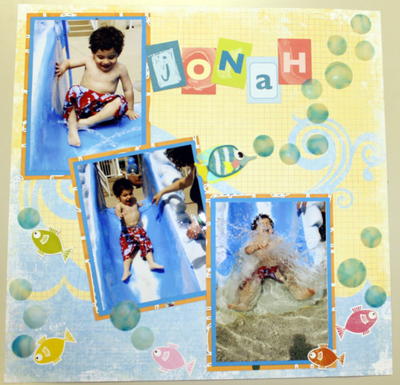
Splish Splash Scrapbook Page Idea

One of the most cherished summer activities is a trip to the pool. Cherish those memories with this Splish Splash Scrapbook Page Idea. With clay additions that you can turn into three dimensional bubbles, you'll feel underwater all over again every time you look at this page in your scrapbook. Whether you're stuck inside on a rainy day or it's just too hot to leave the house, you can get your daily summer dosage of pool time when you create this 3D scrapbook page, no sunscreen required.
Estimated Cost$11-$20
Time to CompleteIn an evening
MaterialsClay
Primary TechniqueScrapbooking

SeasonSummer
Project TypeMake a Project
Materials List
- premo! Sculpey Individual Bar
- premo! Sculpey Accents Individual Bar
- Graduated circle cutter set
- Geometric mini metal cutters
- Wet/dry sandpaper
- Hollow bead maker
- 8" acrylic roller
- 3 scrapbook papers; 1 should be a solid color
- Paper "runner" adhesive
- White quick dry glue
- Craft knife
Instructions
NOTE: Do not use polymer clay on unprotected surfaces. Start with clean hands and work surface area. Good work surfaces include the Sculpey clay mat, wax paper, metal baking sheet, or disposable foil.
-
Knead clay until soft and smooth. For best results, clean your hands in between colors. Shape clay, pressing pieces together firmly. Bake on oven-proof glass or metal surface at 275°F (130 °C) for 30 minutes per ¼" (6 mm) thickness.
For best baking results, use an oven thermometer. DO NOT USE MICROWAVE OVEN. DO NOT EXCEED THE ABOVE TEMPERATURE OR RECOMMENDED BAKING TIME. Wash hands after use. Baking should be completed by an adult.
Begin by preheating oven to 275 °F (130 °C). Test temperature with oven thermometer for perfectly cured clay. For best results, condition all clay by running it through the Clay Conditioning Machine for several passes on the widest setting. Fold the clay in half after each pass and insert the fold side into the rollers first. -
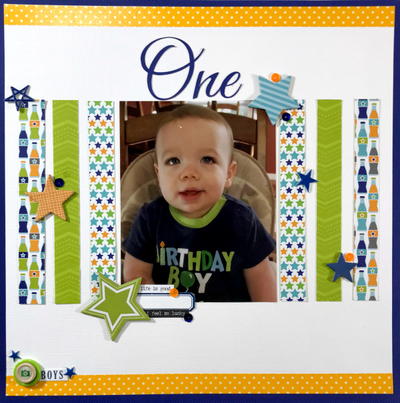
Using your background paper create a rough layout, this will be governed by number and size of your photos. Crop your photos if necessary. Try to visualize how many bubbles you will need. Make more bubbles than necessary just in case you change your mind.
-
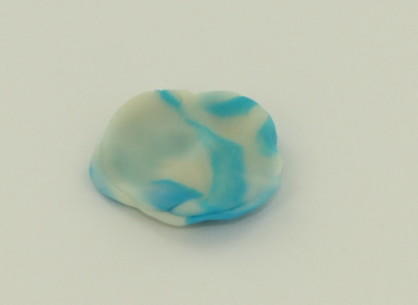
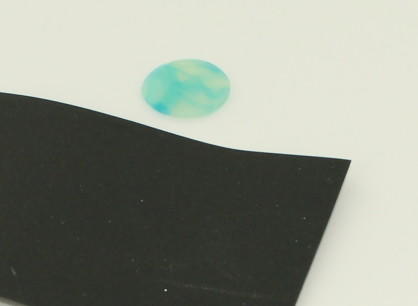
Create the Bubbles Condition ¼ bar of the premo! White Translucent as described above. Form a long coil from the Translucent. Using a pinch of conditioned Turquoise form a long coil, it should be very thin. Twist the 2 coils together and then form a ball and mix until they are marbled, not thoroughly mixed.
-
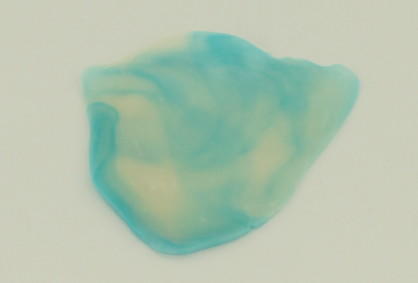
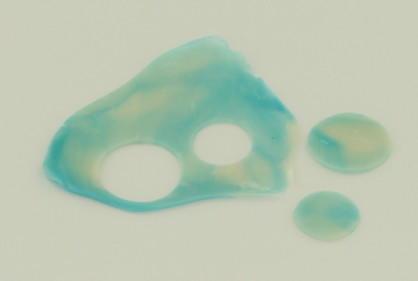
Using the acrylic roller or the clay conditioning machine create a very, very thin sheet of the marbled clay. Use the 2 smallest circle cutters from the graduated cutter set and the circle from mini cutter set to cut out a variety of circles.
-
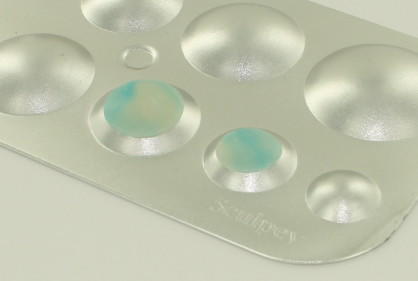
Bake the circles on the hollow bead maker as directed above. You can bake the small circles on the larger half-spheres, they will be less curved. Doing this will create a variety of circle sizes and depths. You may need to do this in two separate bakings. Allow to completely cool. Remove bubbles from baker. If the edges of your bubbles are slightly raged use the sand paper to even them out.
-
Mount your photos on the solid paper, trim to approximately 1/8”. Now mount your photos on the print paper (not your background paper). Layout your page in its final configuration and adhere the photos and the paper letters with the tape runner. Attach your bubbles to the page with a thin bead around the bottom edge of the bubble. It dries clear. Allow to dry as directed on bottle.
Don’t be afraid to include in your scrapbook, the bubbles are very strong and will not crack.
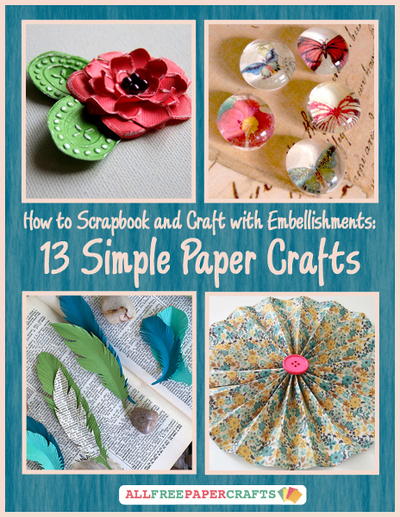
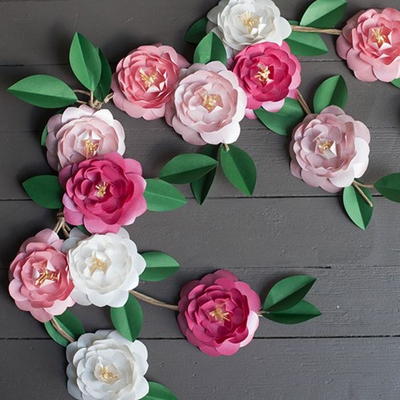
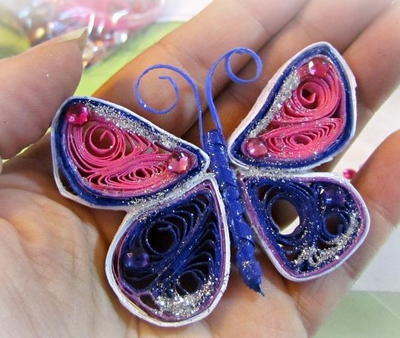
Read NextBeautiful Quilled Monarch Butterfly