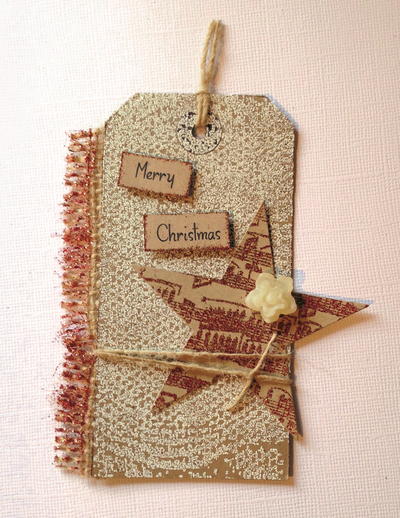
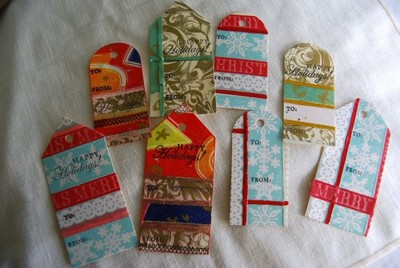
Merry Christmas Tag
Looking for paper craft ideas for Christmas? Then you must make a Merry Christmas Tag! This DIY gift tag is so beautiful that it is practically a gift by itself. The combination of champagne and candy cane colors give this homemade Christmas gift tag a sophisticated vintage look. Charming and sweet, this perfect-for-Christmas gift tag uses embossing effects to get its unique look. However, you do not need to be intimidated by this elegant Christmas paper craft. Follow the tutorial below and you can make this stunning gift tag with ease.

Materials:
- WOW! Vintage Colours (Vintage Champagne & Vintage Candy Cane)
- WOW! White Pearl Embossing Powder
- WOW! Melt-It
- WOW! Canvas Stamp
- WOW! French Music Stamp
- WOW! Silicon Mould (Small)
- 1 x Versamark ink pad
- 1 x Kraft Tag
- Kraft Cardstock for the Star & Words
- 1 pc Hessian
- Adhesive (Pinflair and or Double-sided Tape)
- Foam Pads
- WOW! Heat gun
- Pegs, Scissors, Foil Case
Instructions:
- Ink up the WOW Canvas Background stamp with Versamark and stamp onto tag. Sprinkle with Vintage Champagne, shake off excess and heat set.
- Die cut a star (I used Sizzix Stars No.2), ink up French Music Stamp with Versamark and stamp onto the star, sprinkle with Vintage Candy Cane, shake off excess and heat set. Adhere to front of tag.
- Fray a length of Hessian and attach it to side of tag. Ink the frayed edge with Versamark and sprinkle on Vintage Candy Cane embossing powder. Shake off excess and heat set. By using the spare bits that came from the Hessian, tie a length around the tag and the star. Also, tie a piece through the hole at the top.
- Edge the words in Versamark and sprinkle with Vintage Candy Cane, shake off excess and heat set. Mount them onto the tag using foam pads.
- Take one teaspoon of Melt-It in a foil case and 1/4 teaspoon of White Pearl, stir together and then, holding your foil case with a wooden peg, heat from underneath until molten. Pour the molten powder into your WOW silicone mould.
- Once set, (this should take no longer than a minute) remove it from the mould and adhere to the star using the Pinflair glue.
Read NextButterfly Free Printable Gift Tags