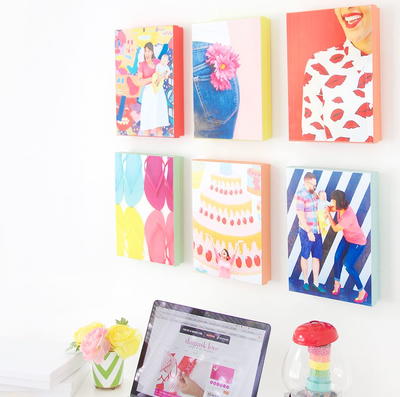
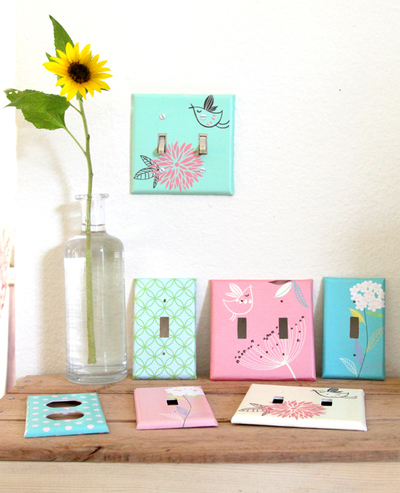
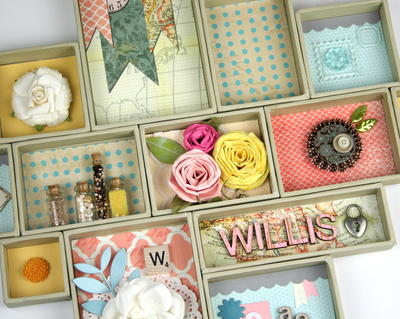
Mini Canvases Family Shadow Box

Stash bust and decorate your home with the Mini Canvases Family Shadow Box. This DIY shadow box is the best way to decorate your home because it can be completely personalized to your tastes. Gather coordinating scrapbook paper and even paper scraps to decorate the mini boxes. You can use whatever embellishments and theme you'd like. Maybe you want to give it a holiday theme, or you want to commemorate a recent family vacation. Let your creativity expand as you create this paper craft. After all, each little compartment is its own blank canvas.
Estimated Cost$11-$20
Time to CompleteWeekend project
MaterialsMixed Media
Primary TechniquePaper Crafts
Type of Paper UsedScrapbook Paper

Materials List
- Patterned paper
- Print tray
- Paper flowers
- Metal charms
- Resin flowers
- Metal number plate
- Chipboard embellishments
- Bookplate
- Buttons
- Acrylic frames
- Paper doily
- Scrabble tile
- Wood letters
- Binder clips
- Adhesive
- Glue dots
- Paint brush
- Detail knife
- Pencil
Instructions:
-
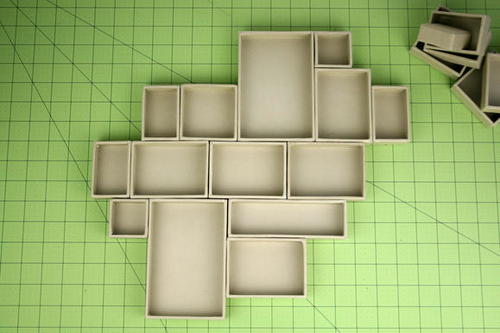
To start constructing your shadow box, first open your print tray and remove all of the boxes. Arrange them on your work space until you get to an arrangement that’s balanced and pleasing to the eye.
-
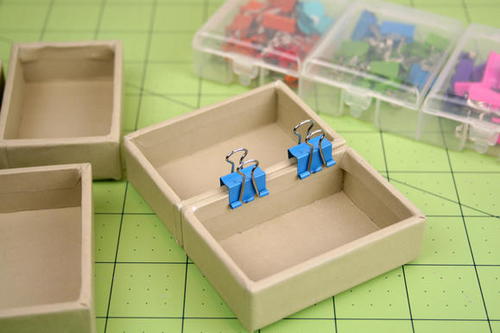
Next, starting with two boxes and building from there, brush adhesive onto the edges that will touch using a strong clear-drying adhesive and a paint brush. Once they are pressed together, secure them with small binder clips and allow the boxes to dry overnight.
-
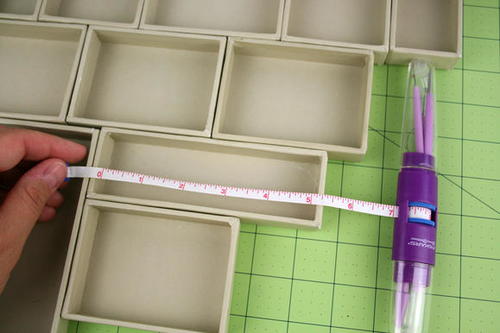
Measure the inside measurements of each compartment using the measuring tape on your Sew Taxi and write the measurement on the inside of the box using a pencil.
-
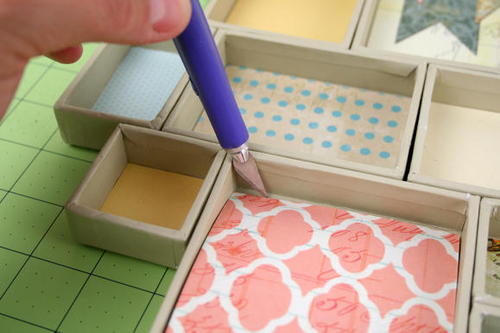
Once the measurements are taken, use your paper trimmer to begin cutting your patterned papers and cardstock to fit within each compartment. Once you cut a piece, place it inside the compartment, but do not glue it down. Chances are throughout the creating process you will change your mind on placement a number of times and it’s much easier to remove the paper without adhesive on it.
If you do decide to remove a patterned paper, the easiest way to do so is to use the tip of your detail knife to lift a corner of the paper from the compartment. -
After cutting all the papers to size, shop your supplies and start collecting small bits and baubles that coordinate with your overall theme and color story. You may not use everything you collect, but it’s much easier to take the time to collection an assortment of embellishments to choose from than to stop and get up a few dozen times searching for things.
-
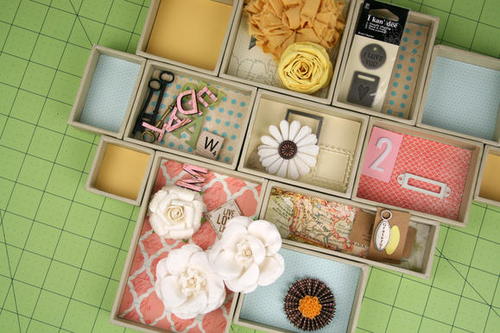
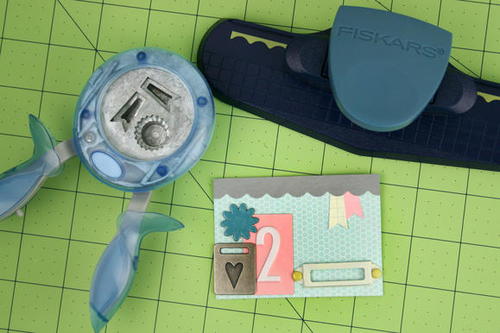
From here, you will treat each individual compartment as a mini canvas, yet allow the design to flow and fit the overall theme so the finished project looks cohesive. Don’t forget that small shapes punched with a squeeze punch and strips punched from a border punch make great additions to your project.
-
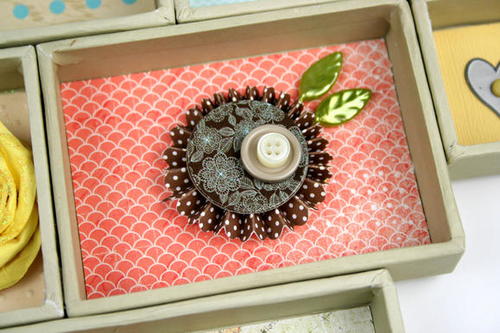
It can sometimes be difficult to find embellishments that are an exact color match to your projects. In this case, use your paper trimmer and scoring blade to create custom embellishments to supplement or replace your store-bought ones. To create this accordion flower embellishment, cut a strip of patterned paper to 1-1/2" wide and score it every 1/4". Punch a small circle from cardstock. Then, fold your strip along the score lines. Puddle hot glue on the cardstock circle. While pinching the folded strip, place it on the hot glue and fan out and around to form a complete circle. Press down in the center to keep it from popping up until the glue cools.
-
When you have everything arranged how you want it, remove the embellishments and paper from one box at a time and use adhesive to secure the embellishments to the patterned paper, then adhere the patterned paper to the inside of the box. Be mindful of the type of adhesive you are using as you want this project to hold up over time. If using a liquid adhesive on the paper, don’t over saturate it or you will end up with bubbling and warping.
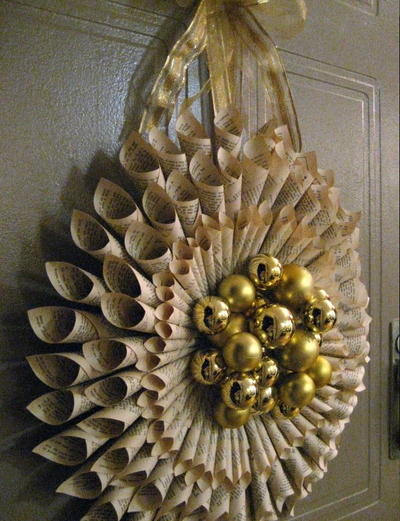
Read NextBeautiful Rolled Book Page Wreath
Your Recently Viewed Projects

Thanks for your comment. Don't forget to share!
kricci623 9621158
Apr 10, 2018
Does anyone know where you can buy the print trays? I love this but I don't know that I've ever seen "print trays."
KLC
Feb 20, 2017
I really like how you can make each little box its own style. I definitely want to experiment with ideas here.
mmeeks94
Jul 29, 2016
I love the idea of shadow boxes! I especially love this because it's so personalized. My living room has teals and greens that I can't find decor to match. I can add any color paper I want with this craft to make it match.
Report Inappropriate Comment
Are you sure you would like to report this comment? It will be flagged for our moderators to take action.
Thank you for taking the time to improve the content on our site.