Paper Birdcage DIY Fall Decoration

Add some elegance to your fall table with this simple and easy-to-design DIY centerpiece. Make an elegant paper birdcage in beautiful fall colors and bring some glamour to your fall dcor with this Paper Birdcage DIY Fall Decoration.
Made using cardstock and artificial flowers, this free paper craft will also be ideal as part of your party decorations for your next fall gathering like Thanksgiving dinner. The birdcages can also be used as part of a table centerpiece for a fall themed wedding, so you'll love these DIY centerpieces if you're a crafty bride.
Plus! If you want even more gorgeous paper crafts delivered directly to your inbox, don't miss out on our free eNewsletter, The Paper Post!
Estimated CostUnder $10
Time to CompleteUnder an hour
Primary TechniqueGeneral Paper Crafting
Project or Page Size8.5 inches x 11 inches
Type of Paper UsedCardstock

SeasonFall
Project TypeMake a Project
Materials List
- Two A4 sized caramel colored cardstock sheets
- A6 sized orange cardstock
- 30-35 10mm multi-faceted clear round rhinestones
- Suitable brown and gold artificial silk flower
- Quick-drying craft glue (such as Bostik Clear)
- Standard scissors
- Pencil
- Ruler
- Plastic lid with a diameter of 3.7”
Instructions:
-
Use the plastic lid and pencil and trace a circle on to the one A4 cardstock sheet. Cut out the traced circle.
-
Cut two strips, each 1.5” wide, from the cardstock.
-
Make the base of the cage:
Apply glue to the bottom edge of one strip and wrap it around the edge of the circle. Use the second strip to close the remaining gap, glue the strips together where they overlap and cut off any remaining part of the second strip. -
Glue a row of rhinestones around the base.
-
Cut 8 strips from the brown cardstock, each sized 0.5” x 6.4”.
-
Glue the bottom of each of the 8 strips to the inside of the base of the cage.
-
Put the artificial flower in the bottom of the base.
Tip: If necessary, use pliers to cut the stem of the flower shorter. -
Glue the top of the 8 strips together to close the cage.
-
Fold the orange cardstock in half. Draw half a butterfly, making sure the body of the butterfly is on the fold. Cut out the butterfly, cutting through both halves of the cardstock. Open the butterfly and glue it on to the top of the cage.


What's your favorite season? Let us know below in the comments!
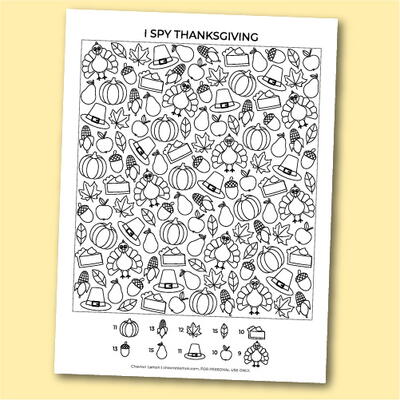
Read NextPrintable I Spy Thanksgiving