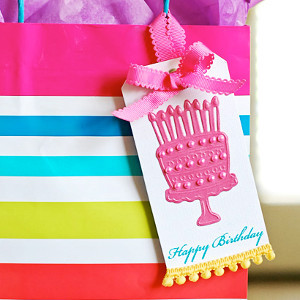
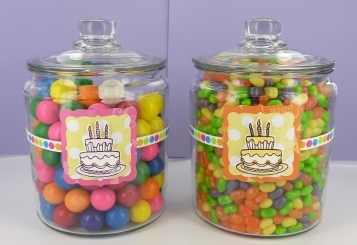
Clay and Paper Candy Jar Tags
No candy jar should go without a label! Add a creative label to all of your candy jars with the Clay and Paper Candy Jar Tags. If you are giving candy jars as a birthday present or you are using them to decorate the table at a birthday party, these tags are the perfect embellishment. Grab a birthday cake stamp and a few sheets of festive scrapbook paper for your tags. You will learn how to color directly onto your stamped birthday cake image to give it a pop of color. This tutorial is great for learning new mixed media art techniques.

Materials:
- 1 Block of Premo! Sculpey®: White - 2 oz
- Clay Conditioning Machine
- premo! Sculpey® 6 piece Glitter Set, Brights
- Sculpey® Bake & Bond
- Toothpick
- Birthday Cake Rubber Stamps
- StazOn® Black Stamp Pad
- 2 Colors of Scrapbook Paper
- Craft Chalks
- Craft Knife
- Spellbinders™ Grand Calibur
- Spellbinders™ Die Templates, Labels 15, 2 ½” x 2 ½” and 3” x 3
- Strong White Craft Glue
- Scrapbook Adhesive
- Small Paint Brush
- Crystals, Self-Adhesive (do not put in oven)
- Ribbon
- Glass jar
Instructions:
Do not use unbaked clay on unprotected furniture or finished surfaces. Start with clean hands and work surface area. Good work surfaces include wax paper, metal baking sheet, or disposable foil. Knead clay until soft and smooth. For best results, clean your hands in between colors. Shape clay, pressing pieces together firmly. Bake on oven-proof glass or metal surface at 275 °F (130 °C) for 30 minutes per 1/4” (6 mm) thickness. For best baking results, use an oven thermometer. DO NOT USE MICROWAVE OVEN. DO NOT EXCEED THE ABOVE TEMPERATURE OR RECOMMENDED BAKING TIME. Wash hands after use. Baking should be completed by an adult.
Begin by preheating oven to 275 °F (130 °C). Test temperature with oven thermometer for perfectly cured clay. For best results, condition all clay by running it through the clay dedicated pasta machine several passes on the widest setting. Fold the clay in half after each pass and insert the fold side into the rollers first.
1. Using your Grand Calibur and the 2 indicated die template cut out 1 large and 1 small tag using 2 colors of paper. Set aside.

2. Condition and roll out a sheet of White with the Clay Conditioning Machine on the #3 setting. Place on an index card or ceramic tile. Using the birthday cake stamp and the black stamp pad, stamp the cake design on the sheet of White clay. Allow to dry for about 10 minutes.

3. Using the craft knife, cut out the cake impression from the White clay.

4. Using a small paint brush, apply craft chalks that coordinate with your papers to the cake impression. Add a drop of Bake & Bond to each flame and then put a small amount of Red glitter on the Bake & Bond.

5. Place your birthday cake on the jar, about where you’d like your label to be. Bake the birthday cake directly on the jar, yes on the jar, that way the birthday cake will have the curve of the jar and fit perfectly when finished. Use the baking directions above. Allow the birthday cake to thoroughly cool on the jar. Pop the birthday cake off the jar.

6. Using the scrapbook adhesive adhere the small tag shape you previously cut out to the large tag. Using the white craft glue adhere the birthday cake to the small tag shape. Hold in place until the glue sets. This will take a couple of minutes. Add the self adhering crystals as desired. Add the ribbon to your jar using scrapbook adhesive. Using the same adhesive, place the tag on the ribbon to complete your jar!
Tip: Try different colors and patterns to dress up glass jars for various occasions.
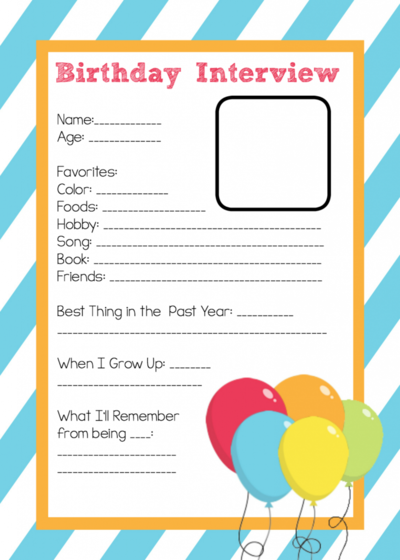
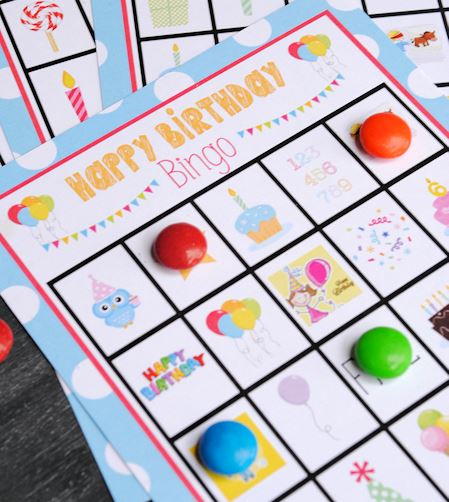
Read NextFree Printable Birthday Bingo Cards
Your Recently Viewed Projects
Thanks for your comment. Don't forget to share!
Report Inappropriate Comment
Are you sure you would like to report this comment? It will be flagged for our moderators to take action.
Thank you for taking the time to improve the content on our site.