DIY Mini Card with a Metal Embellishment
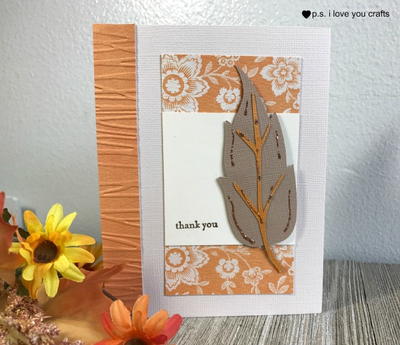
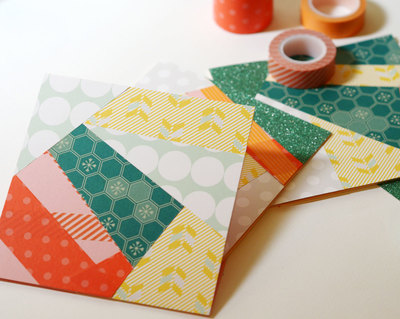
The DIY Mini Card with a Metal Embellishment tutorial will teach you how to make a card with a front featuring mixed media art. This eye-catching card may be small, but it is picturesque and stylish. This mini card has a thatched-looking background, a twine bow, a die cut with a map pattern, and a metal embellishment centered on the die cut. A lot is happening in this card, but it will only take you an hour to assemble. Card making has never been so easy!

Materials from Scrapbook Adhesives by 3L™ :
- 3D Foam Squares
- E-Z Runner® Permanent Strips (Refilliable)
- An Adhesive Sheet
Other Materials:
- Natural Hessian Mat Background
- Twine
- Spellbinders® Labels: "Twenty Four" Die Cut Template
- Scrapbooking Paper
- Card Stock
- Chipboard
Instructions:
- Trim a piece of natural hessian to mat onto a piece of cardstock using your E-Z Runner®.

- Using Spellbinders'® "Twenty Four" die template, cut a piece of chipboard and some pretty paper.

- Using an Adhesive Sheet, stick the die cut straight onto the chipboard.

- Use the E-Z Runner® again to adhere the chipboard to the card. Wrap a little twine around the top to add to the natural look.

- Select a metal embellishment that complements the shape of the die cut. 3D Foam Squares are strong enough to hold weighty embellishments, so don't worry about that! Adhere your embellishment using the Foam Squares, and you are done!

Read NextOne-Sheet Printable Pop-Up Cards