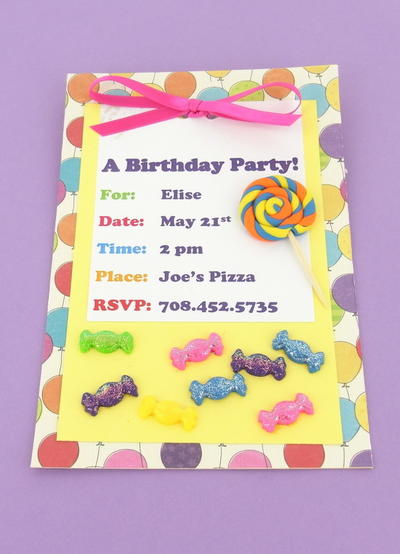
Enticing DIY Birthday Invitations

Birthday party invitations are a big deal, especially when you're younger. The cooler the invitation, the more excited everyone will be for the party. These Enticing DIY Birthday Invitations will have all your invitees jumping for joy. The sweet treats you attach to the DIY invitation will look good enough to eat, though they're actually made out of polymer clay. You won't believe how fun the process is. Once you've gotten the hang of these unusual invitations, you won't be able to stop yourself from throwing another party just so you can make more.
Estimated Cost$11-$20
Time to CompleteIn an evening
MaterialsClay
Primary TechniqueGeneral Paper Crafting

HolidayBirthdays
Project TypeMake a Project
Materials List
- Sculpey Clay Extruder
- Sculpey Clay Conditioning Machine
- Toothpick
- 3 different pieces of scrapbook paper
- Scrapbook adhesive
- Scissors
- Ruler
- White Craft Glue
- Hole Punch
- Pink Ribbon
Instructions
-
Start with clean hands and work surface area. Good work surfaces include wax paper, metal baking sheet, or disposable foil. Knead clay until soft and smooth. For best results, clean your hands in between colors. Shape clay, pressing pieces together firmly. Bake on oven-proof glass or metal surface at 275 °F (130 °C) for 15 minutes per 1/4” (6 mm) thickness. For best baking results, use an oven thermometer. DO NOT USE MICROWAVE OVEN. DO NOT EXCEED THE ABOVE TEMPERATURE OR RECOMMENDED BAKING TIME. Wash hands after use. Baking should be completed by an adult.
Begin by preheating oven to 275 °F (130 °C). Test temperature with oven thermometer for perfectly cured clay. For best results, condition all clay by running it through the clay dedicated pasta machine several passes on the widest setting. Fold the clay in half after each pass and insert the fold side into the rollers first. -
Using the Clay Conditioning Machine on the #1 setting condition all colors of clay.
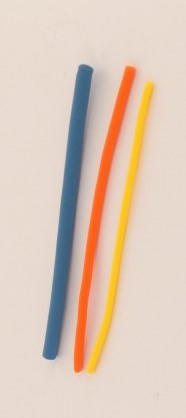
Using the extruder with the largest circle disc inserted, make a Turquoise snake that is 4 1/4" L.
Using the extruder with the medium circle disc inserted, make one Just Orange snake that is 4 1/4” L.
Using the extruder with the second smallest circle disc inserted, make one Yellow snake that is 4 1/4” L. -
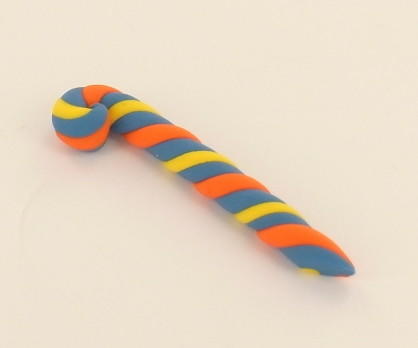
Press the orange and yellow snakes to the sides of the blue snake. Slightly press and roll. Then twist the assembled snakes and roll them into a lollipop. Press toothpick into the bottom of the lollipop.
-
Using the Clay Conditioning Machine on setting #1 make separate sheets of Granny Smith, Purple, Turquoise, Yellow and Candy Pink.
Place a sheet off Saran wrap on top of the Clay and with the Candy Shaped Cutter cut out several candy shapes. The Saran wrap will make them slightly rounded. We made 8 pieces of candy for the card but make as many as you would like! If you make extra you can use them as confetti at your party. -
Dust the candy clay pieces with silver glitter.
Bake all pieces as directed above. -
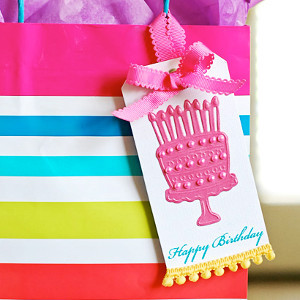
Using scissors, cut a piece of scrapbook paper to 7” H x 5” W. This is the base of the invitation.
Using a different patterned paper cut a piece that is 6” H x 4” W.
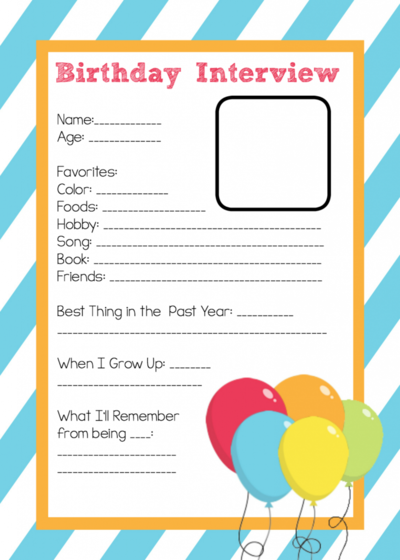
Print your invite info and cut the paper to 3.5” W x 4 1/8” H.
Assemble the card as shown using adhesive. Punch two holes at the top and attach ribbon. -
Add the clay pieces as shown to the card using White Craft Glue.
-
Baby wipes are the best way to clean up after playing with clay!

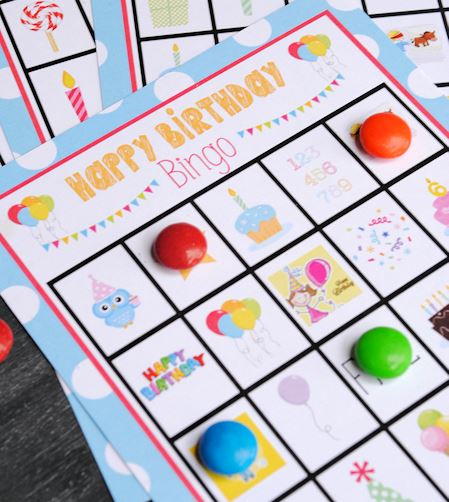
Read NextFree Printable Birthday Bingo Cards