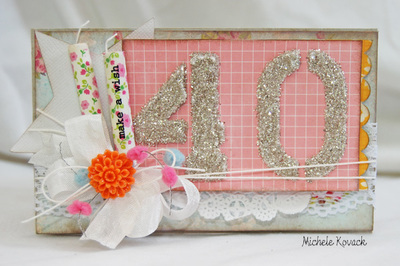
Brocade Birthday Card
Finding unique birthday card ideas can be a challenge. If you have been on the search for card making ideas for an upcoming birthday, then you will surely adore this tutorial for the Brocade Birthday Card. This homemade birthday card is sweet, simple, and thoughtful. Its subtle teal and champagne coloring makes this DIY birthday card perfect for any recipient in any season. The brocade background stamp gives this DIY card a lovely floral element, but not so much so that it overwhelms the elegant simplicity of this elegant card.

Materials:
- WOW! Embossing Powder
- Totally Teal & Vintage Champagne
- WOW! Melt-It
- WOW! Sentiment Stamp
- WOW! Brocade Background Stamp
- WOW! Silicone Mould (Rose Quartet)
- WOW! Embossing Heat Tool
- Card Blank,
- Foil case & Peg
- Die cut shapes
- Versamark ink pad
- Pinflair Glue
- Twine
- Foam Pads
Instructions:
- Using your favourite nesting dies or die cutting machine, cut out a frame, background and tag in cream cardstock.
- Using your WOW Everyday Sentiment stamps, stamp out the Happy Birthday on the tag.
- Take the frame and push it into your Versamark ink pad to cover the frame in ink, sprinkle WOW Vintage Champagne over the frame and heat set.
- In a foil case, mix up 1/4 teaspoon of both Totally Teal and Vintage Champagne.
- Ink up your WOW Brocade Stamp with Versamark and place the cardstock shape on the stamp, rubbing all over to transfer the ink.
- Sprinkle mixed powders over design and heat set. Tip back the excess mixed powder in the foil case and add 1 teaspoon of WOW Melt-It and mix up. Holding case with a peg, heat from underneath.
- Once all molten pour into WOW Rose Quartet Silicone Mould, I used the second size. Let it set, this will take less than a minute.
- Place foam pads on the back of the frame and adhere to the card front.
- Tie a bow with the twine and adhere it.

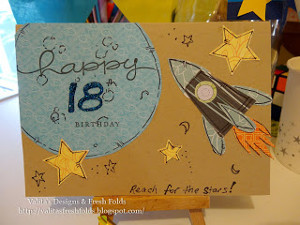
Read NextReach for the Stars Birthday Card
Your Recently Viewed Projects
Thanks for your comment. Don't forget to share!
Daughter of Light
Oct 30, 2018
Wow! This Brocade Birthday Card is drop dead gorgeous!!! I love its shimmer and twinkle and that is seeing it on paper...must be really beautiful in person! This total card has a wonderful mixed media feel to it. It might be easier to use the VersaMark re-inker to paint the frame. I'll probably change it up and use a fabric flower as well. Thanks for this wonderful inspiration!!!
Report Inappropriate Comment
Are you sure you would like to report this comment? It will be flagged for our moderators to take action.
Thank you for taking the time to improve the content on our site.