How to Seal Paper Crafts
Learn how to preserve paper crafts by choosing the right sealant.

Making paper crafts of all kind is a hobby for some, a job for others. No matter your skill level or the time spent, when you make a beautiful paper creation, you want to keep it in good condition. Learn How to Seal Paper Crafts, from paper jewelry to quilling to mixed media art.
Archival supplies are readily available, both in arts and crafts stores as well as on the internet. But, depending on the type of paper and other materials you are using, it’s difficult to choose exactly how to preserve paper crafts you have created. Paper conservation techniques or archival liquids can be too heavy or light for certain paper choices, so it is important to choose the correct sealant.
Below, you will find a lot of helpful tips and tricks for choosing the correct paper for your paper crafts as well as different archival supplies available and which may be the best choices for your crafts. Though sealing paper crafts is not always a necessity, when it is, doing so is important for keeping your creations from weakening or yellowing.
For more great projects like this, subscribe to our free email newsletter!
Table of Contents
Paper Tips

Many types of paper specifically made for art are archival in nature, which means that these papers will not yellow, fade, or deteriorate, or that the process of deterioration will be much slower.
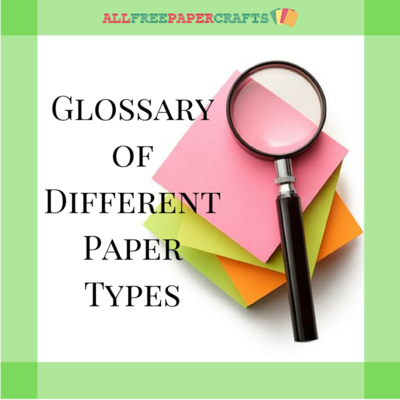
As you can see in the Different Paper Types Infographic above, there are many paper types to choose from and, as you probably know, certain papers are a better fit for what you want to make.
Check out the Glossary of Different Types of Paper to see more specifics and details about crafting papers. If you have the option of using archival papers, that’s the best start. However, some crafts require non-archival paper, such as newspaper.
Archival paper is also known as acid-free paper. When looking for papers for crafting projects, look for the words "archival" or "acid-free" as anything that has these qualities will mention that somewhere on the package or paper.
Note: Use acid-free inks and adhesives when possible to help slow the quality decline. Again, if archival, it will be mentioned on the package.
Spray Sealant for Crafts

Spray sealant comes in an aerosol can, which allows a light spray of sealant. There are many brands and levels of strength. This type of sealant is probably the most versatile. When in doubt, a spray is a good option to choose.
How to Use: Always follow the directions on the product label. In most cases, you will want to move to a well-ventilated area, and cover the area (such as table or floor) with a drop cloth or newspapers.
Make sure the paper craft is clean and free of any dust or debris. Shake the can lightly and then hold it 12-14 inches away from the craft. In long smooth strokes, spray the sealant over your paper craft. Let dry. If the paper craft has multiple sides or angles, repeat the process.
Advantages of Spray Sealant:
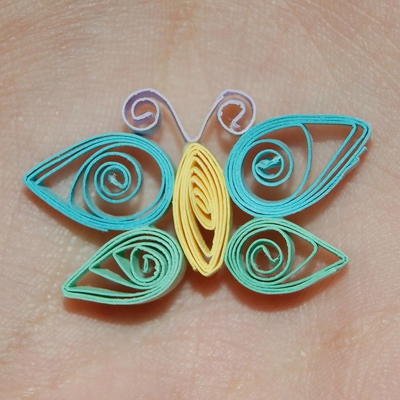
Spray sealant is lightweight, which makes it ideal for delicate paper crafts, such as tissue paper, paper cutting art, paper quilling, and large pieces.
The spray allows you to seal smaller crevices where a brush cannot fit.
This sealant type is often quick drying, but is dependent on how many layers used or size of craft.
Spray sealant allows for layering of sealant and remains flexible.
It is great for large pieces because it covers big spaces in a short amount of time.
Disadvantages of Spray Sealant:
Because it is an aerosol, spray sealant must be used in a well-ventilated area.
Spray sealant can be messy. Cloths or extra paper is needed to cover any surrounding area you do not wish to be sprayed.
The mouth of the spray nozzle allows for little direction, therefore it is not great for detailed sealing.
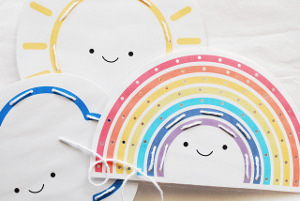
Below, find a list of paper crafts that are ideal for spray sealant:
Decoupage Sealant

What is decoupage?
"The art of decorating surfaces by applying cutouts (as of paper) and then coating with usually several layers of finish (such as lacquer or varnish)." – Merriam-Webster
A technique invented in France during the 17th century, decoupage has had many uses over the years. In modern crafting, decoupage paper crafts involve many mixed elements beyond paper cut outs. Besides paper, fabric, glass, wood, paint, florals, and metal are often involved.
Products such as Mod Podge are popular decoupage mediums/pastes. Many of these products double as adhesives as well. Decoupage sealants are often brushed or sponged onto the final product. Though decoupaging is the whole process, in this case, the term "decoupage" mostly refers to the last part; the sealing.
How to Use: Always follow the directions on the product label. In most cases, you will need a sponge with a handle or brush small enough to fit inside the bottle. Some brands include a brush inside the bottle. Assure that there is no dust or debris on the craft you are about to seal. Be careful not to set the wet side down as any elements will stick to the piece.
Dip the brush or sponge into the liquid. You can run the utensil on the inside lip of the bottle to remove any excess as you only want a small amount with each pass. With clean, long strokes, cover your craft with the sealant. Let dry and apply additional layers as needed, letting dry in between each layer.
Advantages of Decoupage Sealant:
Decoupaging is a helpful sealant technique because it is usable for many mixed media art pieces.
This paste is available in both matte and glossy, so you can have any desired effect.
Decoupage paste can be used as an adhesive as well as a sealant, which means you only need to purchase one product.
Disadvantages of Decoupage Sealant:
Because it has to be brushed or sponged on, it's not desirable for the more delicate crafts. Any sort of paper that can rip or easily soaks up liquid, such as tissue, needs to be treated with extra care if decoupage paste is used.
Decoupaging can take a long time to coat your project and take a long time to dry if thick or multiple layers are used.
It can show sponge or brush lines if not used evenly. When in doubt, less is more. Clean dabs or strokes and waiting for layers to dry between layers is key for avoiding problems.
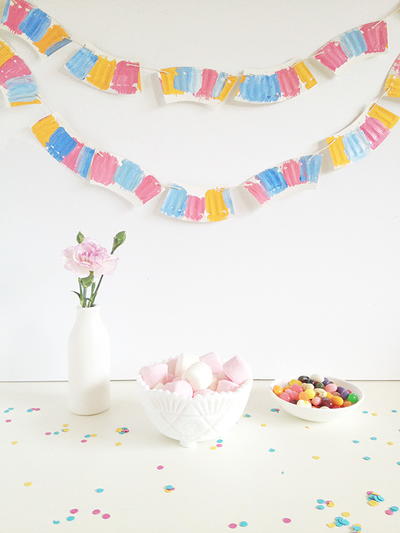
Below, find a list of paper crafts that are ideal for decoupage sealant:
Glue Sealant for Crafts

When looking at how to preserve paper crafts, glue you have on hand may be possible to use as a sealant. It is used similarly to decoupage paste like Mod Podge but tends to be less expensive and can be thinner.
Not every type of glue can be used as a paper craft sealant, though. White glue is the best, which can mean children's elementary glue or craft tacky glue. Glues like rubber cement, super glue, or other very strong glues do not work as sealants.
With glue, you will need to apply it with a brush or sponge as you would with the decoupage method mentioned in the previous section. Most anything that you can use glue sealant for, you can also use decoupage paste for as well. The difference is price, strength, quality, and thickness. Glue is a budget version of the decoupage paste.
How to Use: Always follow the directions on the product label. In most cases, you will need a disposable plate or bowl to hold the product as well as a sponge with handle or brush. Assure that there is no dust or debris on the craft you are about to seal. Be careful not to set the wet side down as any elements will stick to the piece.
Pour a small amount of glue into the container and dip the brush or sponge into the liquid. You can run the utensil on the edge of the plate or bowl remove any excess as you only want a small amount with each pass. With clean, long strokes, cover your craft with the sealant. Let dry and apply another layer if needed, letting dry in between each layer.
Advantages of Glue Sealant:
Glue is often less expensive than other sealants.
Glue is easy to use and remove from skin and non-porous surfaces.
If using children's glue, it is a super kid-friendly sealant. Though many other sealants mentioned in this article are non-toxic, some are less kid-friendly.
Glue is quick-drying.
Disadvantages of Glue Sealant:
Glue may not be the longest-lasting or strong sealant. If you want serious protection, consider using a proper sealant made just for that.
Glue is a light sealant option. Sealing your project in more than two layers may result in cracking.
As with the decoupage paste, care must be taken to avoid sponge, brush strokes, or bubbles on the finished product.
Most glues have a tip and squirt bottle style, but that is not effective when using glue as a sealant. You will need a bowl or plate to pour the product as well as a brush or sponge to apply the product.
Below, find a list of paper crafts that are ideal for glue sealant:
Wax Sealant

Now, here's an unexpected one. Did you know it's possible to use wax as a sealant for some paper crafts?
Beeswax, paraffin, and candelilla wax are all great options for wax. If you're looking for how to seal paper crafts in a unique and natural way, wax may be an option. You can even use most candles you have in your home for the wax.
How to Use: Always follow the directions on the product label for any important information. In most cases, Melt the wax in a glass or metal container.
Dip the paper into the container using tongs or use a brush to coat the paper with the melted wax in as thin of layers as possible. Let dry. Use a heat gun or hair dryer on the low warm setting to remove any problem areas. Fix any holes by applying more wax and repeating the heat step. You may want to wear gloves during this process. Adding more than one layer of wax is not recommended with the dipping method as there may be loss of detail of your craft because of the thickness of wax.
Alternative method: Use a candle to cover the paper with wax. This should only be used on smooth surfaces. Use a heat gun or hair dryer on the low warm setting to remove any problem areas. Repeat the process for the other sides or to add a thicker seal or cover any missing areas.
Advantages of Wax Sealant:
Wax is natural and eco-friendly.
Wax is highly waterproof (as long as it's completely sealed).
Disadvantages of Wax Sealant:
It can be a difficult process when sealing paper with wax. When working with hot wax, there is the danger of burning skin or the area you are working in. Though wax is removable once dry, it can be painful if dropped on the skin.
Wax may leave a film or waxy feeling on areas where the craft is left or when held.
Most waxes are thick and so no more than one layer is recommended when using the dipping technique.
Your wax-sealed paper craft cannot be exposed to heat as the wax will melt. Do not leave your sealed crafts in the sun, outside, or in a warm building.
Below, find a list of paper crafts that are ideal for wax sealant:
Lamination

Lamination is used for a lot of paper crafts, including photo albums, scrapbooks, and books. It's a tried and true, and very simple way to protect paper crafts. Use a machine with either heat or cold elements, or the self-adhesive lamination sheets.
How to Use: Always follow the directions on the product label. For the lamination sheets: First, make sure there is no dust or debris on the paper. Depending on the type of sheet, you may need to center your piece. Some lamination sheets are two sided with a sealed side, like a folder. If using those, place paper inside and then close the two side together and press from one side to the other to smooth. Cut off excess.
If using two separate sheets, place one sheet down, inside up. Place the paper down face up and then lay the second sheet over the top, inside down. Press down from one side to the other to smooth. Cut off any excess.
For the machine: The first few steps will be the same as when laminating without a machine. Place the paper inside the lamination sheets and then feed through the machine to smooth. Cut off any excess.
Advantages of Lamination:
Lamination is a quick process.
Lamination doesn't involve any messy adhesives, so it's a clean technique.
Depending on the brand, some laminations may be removable.
Lamination does not damage the craft.
Disadvantages of Lamination:
Lamination can only be used on flat, preferably rigid surfaces, such as scrapbook pages or photos.
Lamination machines can be pricey.
Size may be an issue, especially when using a machine. Larger art pieces may not be covered completely with lamination sheets.
Below, find a list of paper crafts that are ideal for lamination:
What is your favorite way to seal your paper projects?
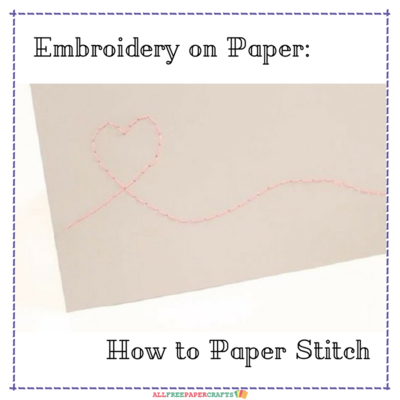
Read NextLearn Paper Embroidery
Your Recently Viewed Projects
Thanks for your comment. Don't forget to share!
Daughter of Light
Jul 27, 2018
Ouch!!! I think I've been bitten by the paper crafting bug! Actually I know I know I've been bitten by it and the topics on this page are right up my alley! I feel like a sponge ready to soak up all of the information I can get my hands on. This must be like cocooning and boy I sure hope I come out with the creativity of a butterfly. I'm sooo glad that someone compiled all this information. Thank you!!!
Report Inappropriate Comment
Are you sure you would like to report this comment? It will be flagged for our moderators to take action.
Thank you for taking the time to improve the content on our site.