How to Use a Rubber Stamp + 10 Stamping Projects
Use these tips and stamping techniques to make the most beautiful rubber stamping crafts.
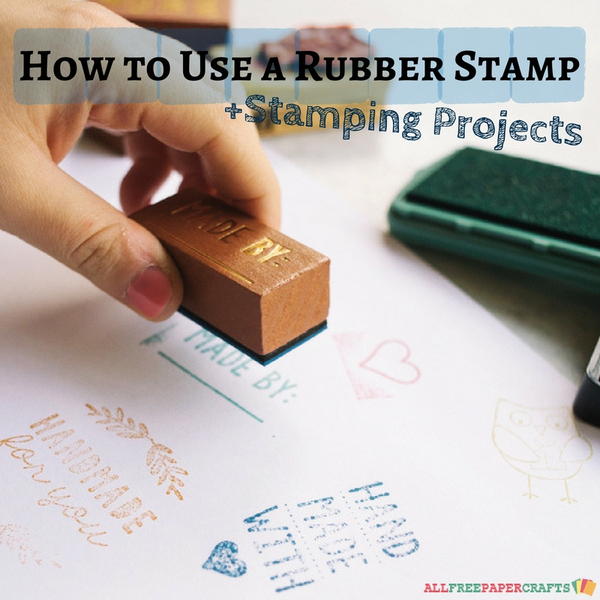
When it comes to card making ideas, there are so many mediums, techniques, and products that can be used. Rubbing stamping was one of the first ways used to decorate a card but many don't know the best ways to use stamps for embellishing paper. With How to Use a Rubber Stamp + 10 Stamping Projects, we will provide you with the stamping basics and tips you need as well as give you some incredible stamp ideas for your next card. It's not a difficult skill to learn but does take some practice to get right.
By learning a few of the best ways to use a stamp, from inking to pressing the stamp correctly onto paper and everything in between, you will be a pro in no time. Stamping techniques are especially fun to learn because it opens the door to so many possibilities in card making. We will start with the basics steps and then go into detail about the steps to stamping so that you can do it right the first time. With so many different types of stamping ink, rubber stamps, and paper, you may not know which is the best combination for what you want to create. After you read this helpful guide, it will no longer be a concern.
Table of Contents
How to Use a Rubber Stamp
More Stamping Tips
Card Making Ideas Using Stamps
How to Use a Rubber Stamp
-
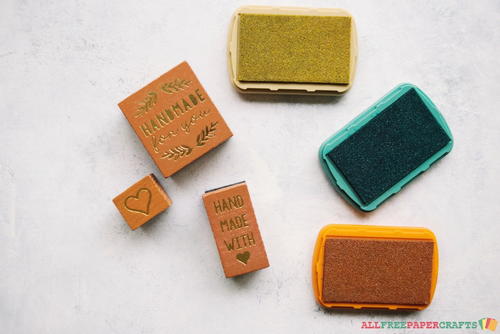
Choose your ink and stamps.
Choose complementary colors. You may want one main stamp and some smaller embellishing stamps or only embellishing stamps. Plan out your card the best you can with a sketch or with notes before stamping. -
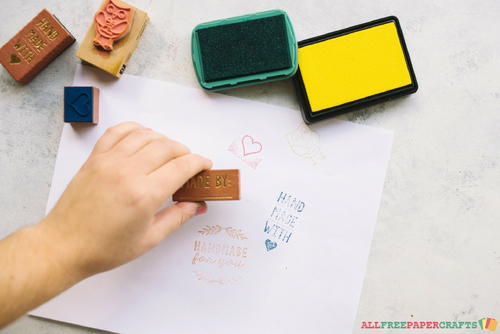
Apply ink to your rubber stamp.
Do this by gently tapping the ink pad with the raised part of the stamp. If the pad is smaller than the stamp, start at one end and move the stamp across the pad as you apply the ink until the entire image is inked. Do not press hard or rub the ink pad as this can oversaturate the stamp. If your stamp is over-inked, stamp a piece of scrap paper first before applying it to your real project. -
Stamp the image with even pressure.
It’s helpful to have a simple foam board, mouse pad, or book underneath the paper in order to create a flat but slightly malleable surface. Hover the stamp over the paper where you want to apply the stamp. Standing up instead of sitting often helps for applying even pressure on one of your homemade cards. If the stamp is large, you may need two hands. Like when inking your stamp, you do not want to press too hard onto the paper. If the stamp is correctly inked, the image should appear with only a small amount of pressure. You can also lightly rub your hand over the stamp to assure consistency. -
Lift the stamp up from the paper.
To do this, lightly pull the stamp straight up. If you lift it by pulling one side up and not the other, the ink can be applied inconsistently, with heavier inking on one side. -
Clean your stamp.
It's best to clean the stamp right away so that the ink does not stain (depending on the type of ink). The best method for cleaning will depend on the type of stamp you have. The wooden holder of rubber stamps should not be exposed to soap and water as it can weaken the adhesive that holds the rubber design to the handle. Using a commercial rubber stamp cleaner assures the safest method. However, applying soapy water to a paper towel and stamping your stamp until the ink is gone will work. You can them stamp on a water-soaked paper towel to remove the soap. Then, stamp on a dry paper towel to remove excess liquid. -
Repeat with other stamps included in your design.
You don’t want to ink the stamps until you are ready to use them, so make sure you go from stamp to stamp.
More Stamping Tips
-
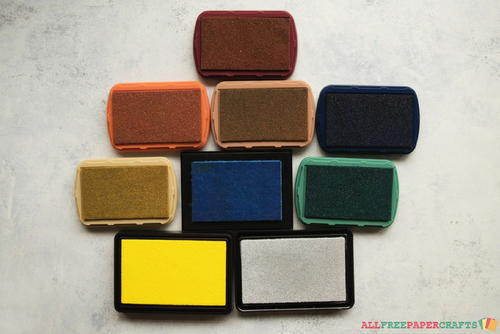
Choose the correct type of ink. Pigment inks are the most common for standard card making. However, dye inks are also useful. Pigment inks dry slower than dye inks. However, they tend to have stronger colors as they are more opaque than the thinner dye types. There are also chalk, watermark, archival inks, distress, and more options available depending on the type of stamping you want to do. Experiment and do research to find out the best ink for your project. You may also find that stamp markers are easier for you than ink pads. They also allow you to do multiple colors of your choice.
-
There are different types of rubber stamps to use. Some have handles, some are clear. Clear rubber stamps help you to see exactly where you are placing the stamp. Handled stamps apply even pressure but tend to be only available on smaller stamps. You may be limited to your design choices. It may also be possible to make your own stamp by hand or by buying the holder type and rubber stamp images of choice from a retailer and attaching them by hand.
-
With stamping, practice really helps. If you have never used a certain stamp or ink, testing it out before creating your finished product is a good idea. It’s also helpful to test out exactly where you want the images as it can look right in your head but not once stamped. Colors may not look as you imagined either, which is why it’s important to see them on the paper. Getting that even stamp is key, which is why you should find your favorite way to stand, hold the stamp, and the amount of pressure you need to apply.

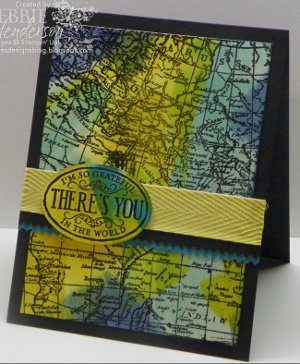
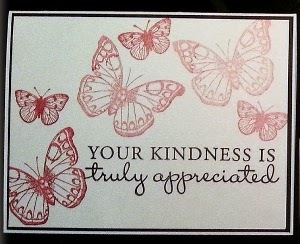
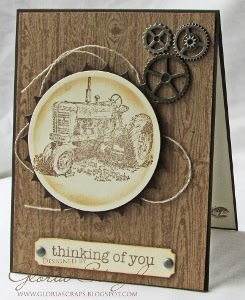
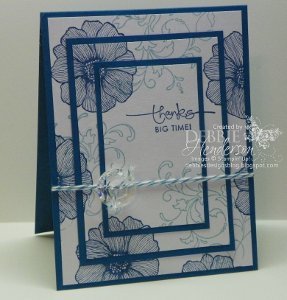
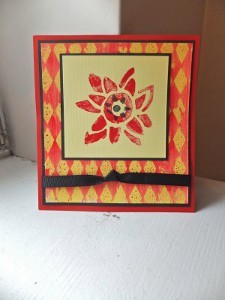
Card Making Ideas Using Stamps
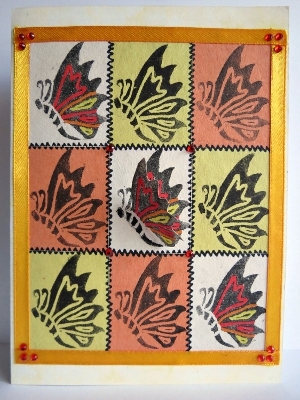
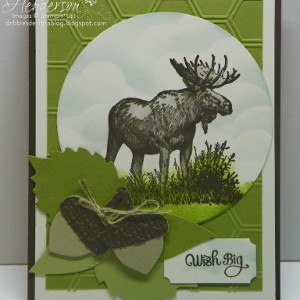
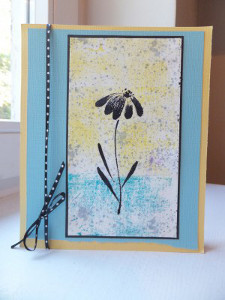
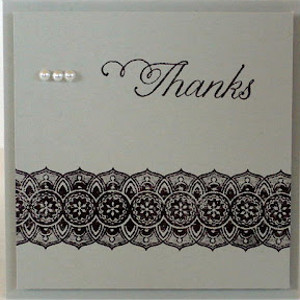
Practice, improve, and perfect your skills with these lovely stamping card ideas. Rubber stamping crafts like these cards allow you to create your own designs instead of buying. Some of these are simple whereas others are more advanced. Luckily, they all have clear directions and pictures to help you through. Start collecting stamps because you are going to want to make stamped handmade cards for birthdays, anniversaries, thank yous, and every holiday.
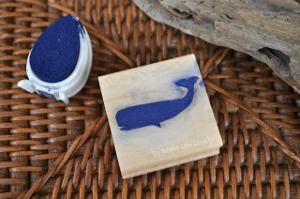
Read NextNautical Whale Custom Stamps