Embroidery on Paper: How to Paper Stitch
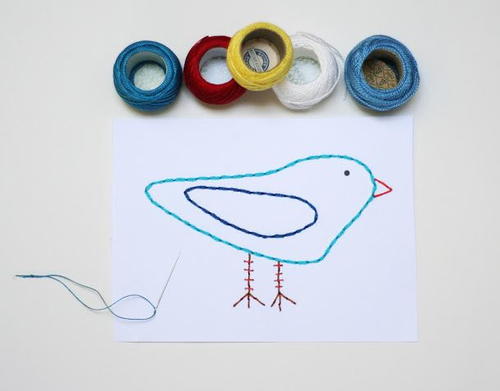
Paper embroidery is a delightful way to add embellishment and texture to any paper craft.
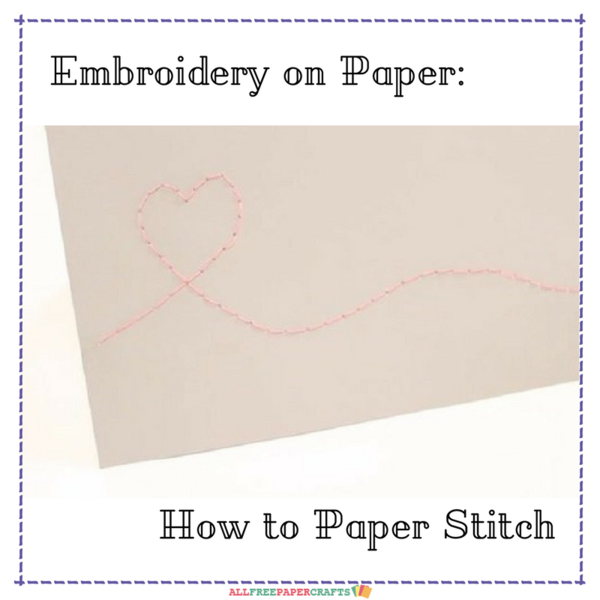
Learn a new way to embellish your paper projects! If you've never tried sewing paper, you must learn how. With this Embroidery on Paper tutorial, you will learn How to Paper Stitch on cardstock. This tutorial demonstrates the back stitch, and it offers a variety of tips and techniques for stitching effectively on paper.
Choose any design of your choosing and use this tutorial for any project moving forward! A stitched design on a handmade card adds so much character to your projects and it really creates the handmade feel. For a homey touch on your next paper craft, consult this paper embroidery tutorial.
After the tutorial, you will find several supplemental materials to help you perfect sewing paper. If you like to follow along through watching someone work, then you will love our video tutorial. To pin or save a quick reminder of how to sew paper, check out the infographic. Finally, we are featuring some amazing paper stitch projects with which you can test your skills with.
Estimated CostUnder $10
Time to CompleteUnder an hour
Primary TechniqueSewing

Materials List
- Cardstock
- Pencil and eraser
- Sewing needle
- Thread
- Paper piercer or thumbtack
- Paper piercing mat or piece of corrugated cardboard
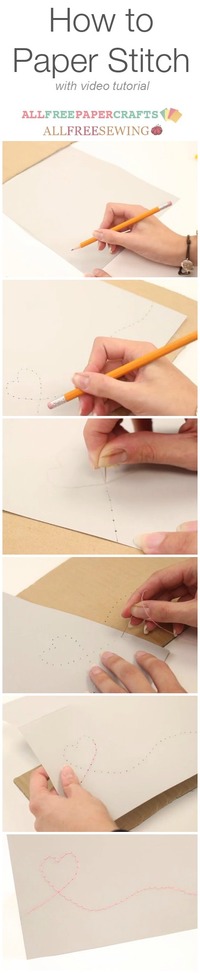
How to Sew Paper Instructions:
-
Measure out your card and cut it to size.
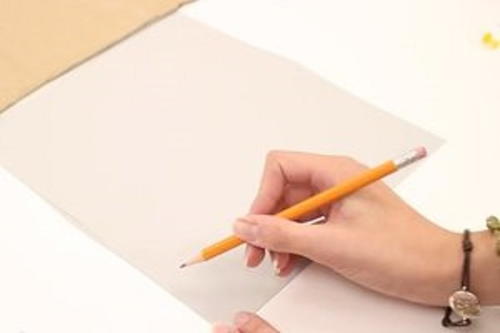
-
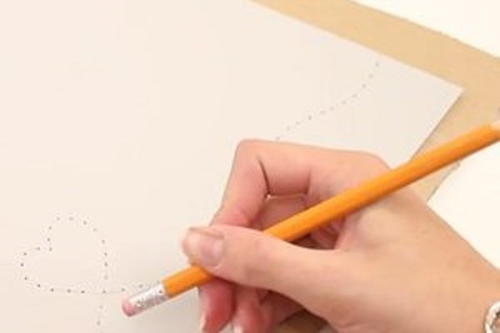
Draw your design on the front of the card (or on a separate piece of cardstock to be mounted on the card base). You may draw the design freehand like this example, or you can trace your design using a template.
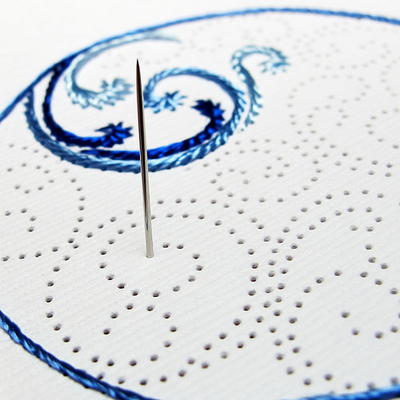
-
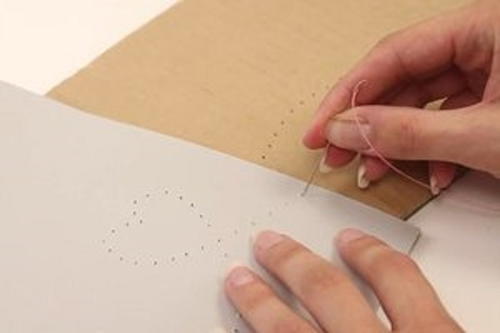
Pierce your paper along the design. Use your paper piercer or a thumbtack if you do not have a paper piercer on hand. You want to pierce your paper first because, this way, it is easier to gauge the distance between each hole, and you will not dull your sewing needles on the paper.
That said, you want to keep the distance between each pierced hole as consistent as possible because once we stitch, it is easy to see any irregularities. The distance between holes in this example is about a centimeter. -
Erase your design before you begin stitching.
-
Thread your needle and pull it through the second hole from the edge of the design. You will insert the needle from the back of the card and pull it through the front. Pull the thread almost entirely through the hole and secure the back with tape. It is not necessary to knot the ends of the thread because we are taping it down to secure it.
-
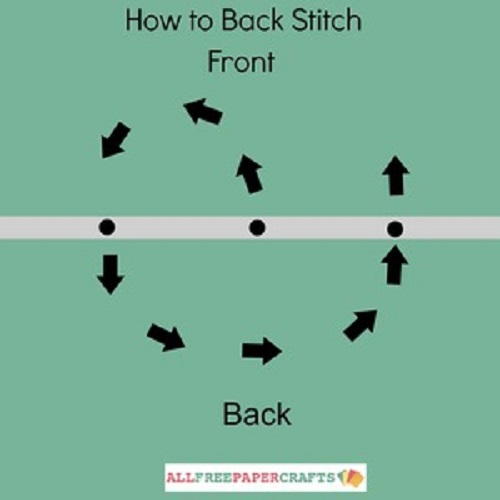
Begin back stitching the design on the card. Back stitching creates a wonderful look because, unlike your typical running stitch, there will be no spaces left between the holes in your design. Working left to right, you will first pull the needle from the back of your card through the second hole in the front of the card.
Then, you will insert the needle through the first hole (it will seem like you are going backward). Next, you will pull the needle from the back of the card through the third hole. Here is a diagram of what that looks like: -
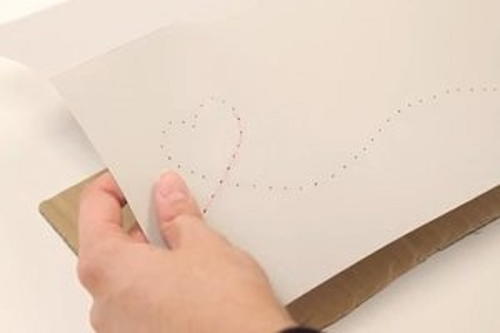
Repeat this pattern, and continue to the end of your design, snip the ends, and secure the design with another piece of tape.

How to Paper Stitch Infographic
-
Save, pin, or bookmark this simple infographic to remember the steps for paper embroidery:
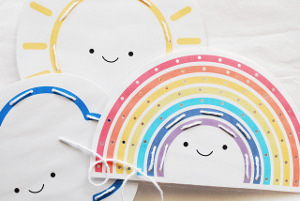
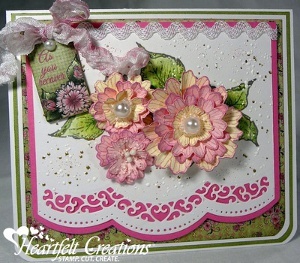
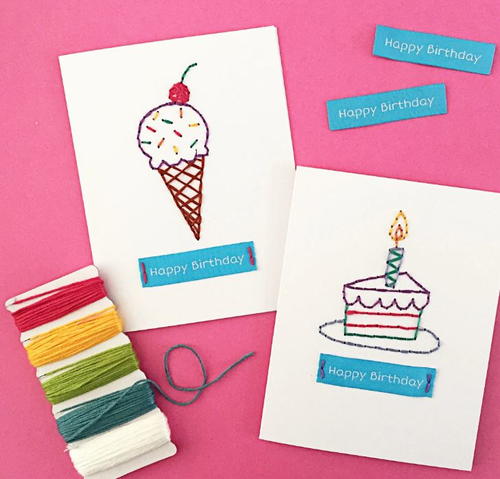
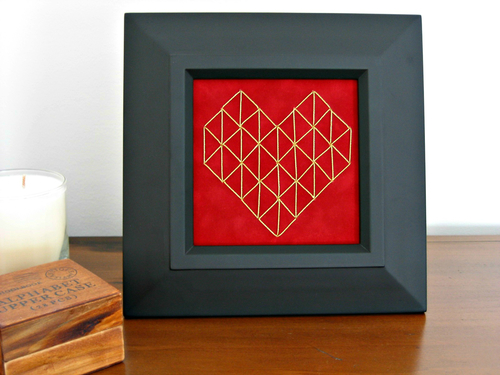
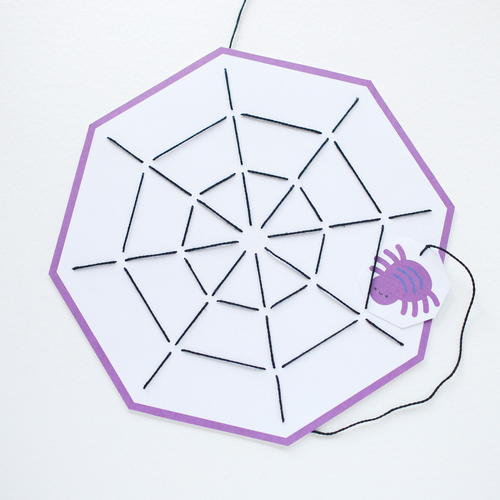
Paper Embroidery Projects
From card making ideas and DIY art to educational and fun crafts for kids, these paper stitch projects are enjoyable for anyone in the family.

Read NextLearn Paper Embroidery
Your Recently Viewed Projects
Thanks for your comment. Don't forget to share!
msdeb21
Nov 29, 2018
This is an amazing idea. I used to cross stitch a long time ago and I still have a lot of embroidery floss. I make a lot of paper crafts, both greeting cards and home deocr. I like the idea of stiching on paper and giving texture to my paper crafts. I am trying to think of a simple Christmas design I can make to try this craft before the holidays get away from me!
Weberme
Jun 01, 2016
I have never heard or seen paper sewing before. Oh my gosh I Love It. I sew on fabric all the time but never thought to do this on paper. This sewing on paper project can make some cute cards for any occasion or for scrapbook pages. I think I will use some card stock as my paper when I make these designs. Great tutorial. A new craft for me. Anyone make cards like this?
Report Inappropriate Comment
Are you sure you would like to report this comment? It will be flagged for our moderators to take action.
Thank you for taking the time to improve the content on our site.