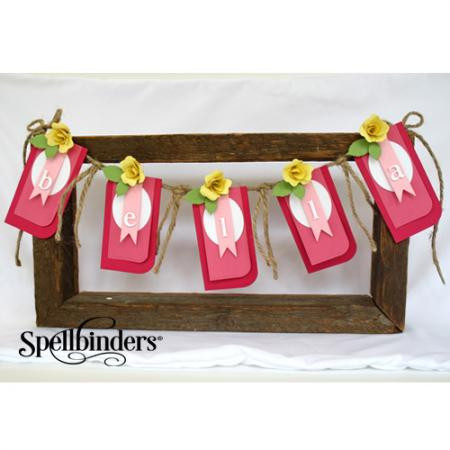
Bella DIY Banner
Decorate your home with this sweet, but chic homemade banner. The Bella DIY Banner is a beautiful way to add a little bit of festive spirit into your home decor. Perfect for a birthday party, baby shower, bridal luncheon, and more, this stunning DIY banner is a fabulous homemade paper party decorations. Complete with gorgeous little yellow flowers, this easy paper craft tutorial will teach you how to make a banner that is wonderful for the spring season.

Materials:
Spellbinders Supplies:
- S2-067 Create A Rose
- S4-112 Classic Ovals SM
- S5-029 Nested Lacey Pennants
- S5-199 Font One - Lowercase
- S6-013 5 x 7 Modern Stationery
- GC-001 Spellbinders® Grand Calibur® Die Cutting and Embossing Machine
Other Supplies:
- Beacon Adhesive: 3-in-1 Advanced Craft Glue
- Bazzill Basics Papers®: Tink Pink Cardstock
- Scrapbook Adhesives by 3L® - 3D Foam Squares
- WorldWin Papers ®: Light Pink, White, Pink, Green and Yellow Cardstock
- Twine
- Hole Punch
Instructions:
- To create the banner’s base, cut and emboss 1 each of the following using the Grand Calibur Machine (repeat this process five times): • 5 x 7 Modern Stationery Die #2 ( #1 die is the smallest size) from Tink Pink • 5 x 7 Modern Stationery Die #1 from Light Pink • Nested Lacey Pennants Ribbon Die #2 from light pink • Classic Ovals SM Die #3 from white
- Cut and emboss b, e, l, l, a from Font One – Lowercase set in white.
- Cut and emboss to create five small roses from Create A Rose set in yellow (green for the leaves).
- Assemble each pennant as follows from bottom up: 5 x 7 Modern Stationery Die Cut #2, 5 x 7 Modern Stationery Die Cut #1, Classic Ovals Die Cut #3, Nested Lacey Pennants Ribbon Tail Die Cut #2 and Font One - Lowercase letter on top.
- Adhere each layer using Beacons 3-in-1 Advanced Craft glue except for the letter on top. Use a foam square cut in half to adhere the letter to the pennant.
- Use a hole punch to punch two holes ½” apart and about a ¼” down from the center section of each pennant.
- String each pennant through twine.
- Adhere rose leaves and roses to the center top section of each pennant (covering the punched holes and threaded twine) using a combination of foam squares and glue.
- Cut piece of twine to desired length and tie in between each pennant on the banner.
- Attach to frame tying a bow in each end of the banner.
Notes
Find this fabulous project along with others in our new collection, 26 Sweet Spring Paper Craft Ideas!
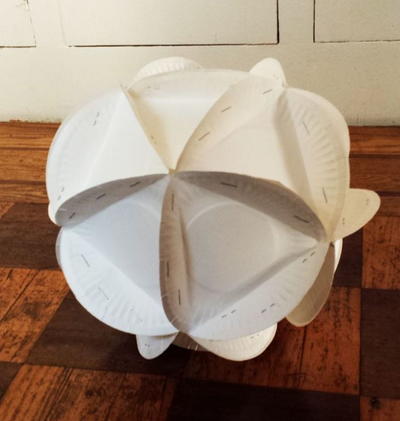
Read NextPaper Plate Ball Decor