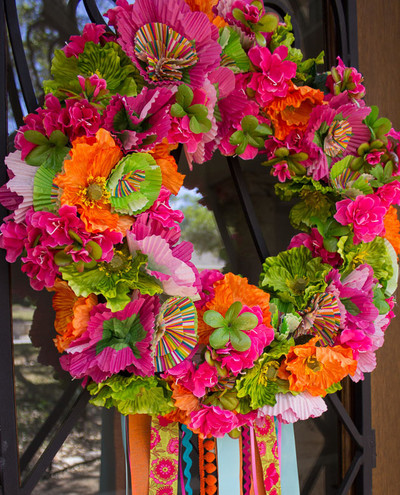
Shades of Green DIY Wreath

Spring is the season when nature explodes with a burst of color. Green grass, green leaves, and beautiful flowers remind us that winter has finally passed. Celebrate the beauty of this season with this Shades of Green DIY Wreath. This gorgeous spring wreath focuses on the different shades of green that we associate with this lovely weather. There are also stunning paper flower, feather, rhinestone, and leaf embellishments to add a feminine touch to this decorative craft. You can even use this DIY wreath to brighten up any space year-round.
Time to CompleteUnder an hour
Primary TechniquePaper Crafts

SeasonSpring
Materials List
- Printout of provided pattern sheet
- Twig ring with a diameter of 8"
- Light green paper raffia
- 6" of 0.3" wide caramel brown colored satin ribbon
- A5 sized cardstock, white with green polka dots
- Small white feathers
- Four brown skeleton leaves
- Three clear flower rhinestones
- Three dark green glass beads
- Florist wire
- 3 ¼ knitting needle
- Pliers
- Scissors
- Pencil
- Quick-drying craft glue (such as Bostik Clear)
- Hot glue gun and glue sticks
Instructions:
Cover the twig ring with the paper raffia: Use a bit of craft glue to secure the end of the raffia at the back of the wreath. Wrap the raffia tightly around the wreath until the whole ring has been covered with raffia. Cut off any remaining raffia and glue the second end of the raffia in place at the back of the ring.
-
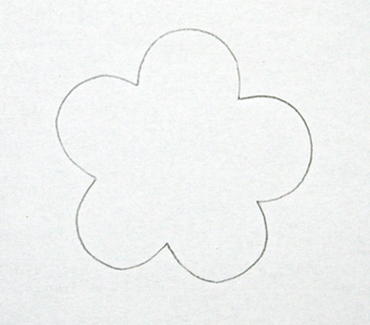
Cut the pattern of the flower out. Trace three flowers onto the polka-dot cardstock and cut them out.
-
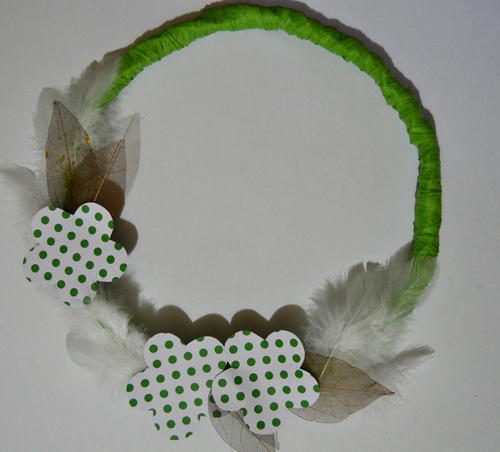
Make an arrangement with the feathers, flowers, and skeleton leaves and hot glue everything to keep them in place.
-
Add a flower rhinestone to the center of each polka-dot flower.
-
If necessary, add more feathers to make the arrangement fuller-looking.
-
Use the knitting needle and the florist wire to make three small wire twirls. Add a glass bead to a piece of wire and use the pliers to make a loop above the bead so that the bead won’t come off the wire. Twist the wire below the bead around the knitting needle. Remove the needle and cut the twirl to the correct size. Hot glue it to the arrangement. Make the other twirls in the same manner.
-
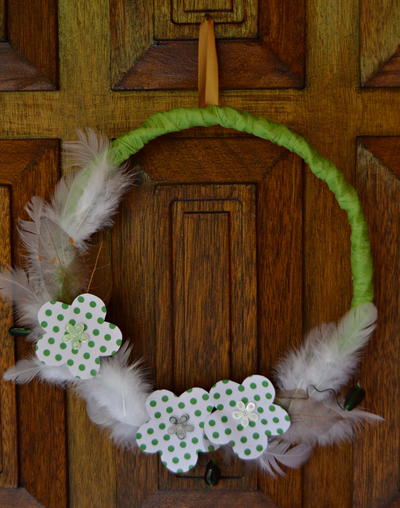
Make a loop with the 0.3" wide ribbon and hot glue it to the top of the wreath.