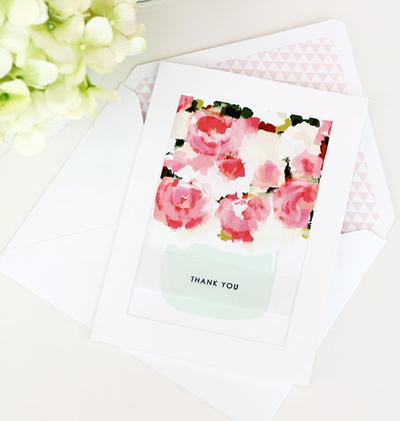
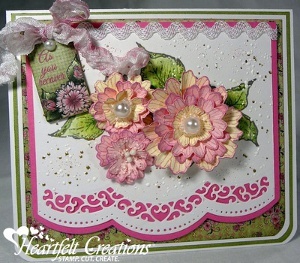
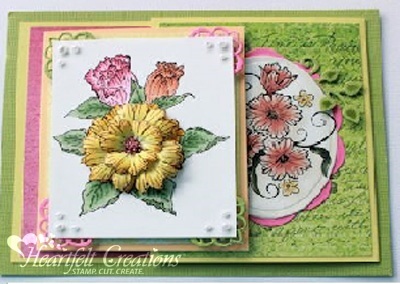
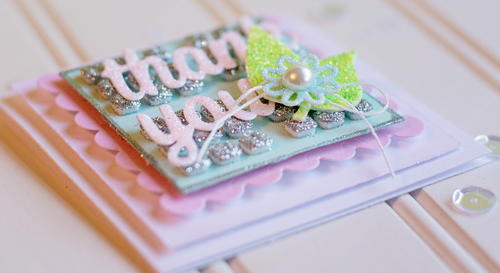
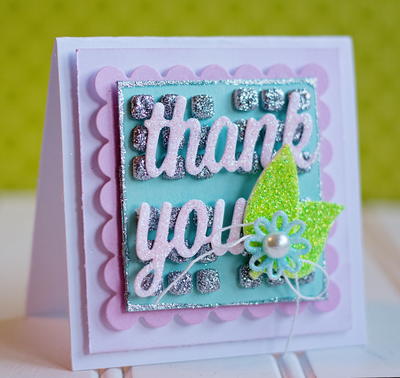
Glittery Thank You Card

The sparkly charm of this Glittery Thank You Card is only one of the beautiful elements you'll discover when making this paper craft. This DIY thank you card has some stunning dimension, created with 3D foam squares, leaves, and sheets. This handmade card is also made with die cut pieces and inking techniques.
It's perfectly pastel for spring but is so sweet that you will probably start making more for all times of the year. Whenever you need to say, "thank you", it is worth making something special to help say it and this DIY card is one of the best ways to do that.
Time to CompleteIn an evening
Primary TechniqueGeneral Paper Crafting
Project or Page SizeCard
Type of Paper UsedCardstock

Materials List
- 3D Foam Squares: White Small
- 3D Foam Creative Sheets
- 3D Foam Leaves
- Dual Tip Glue Pen
- Crafty Foam Tape: White
- Cardstock: Papertrey Ink
- Ink: Ranger Distress
- Ink: Imagine Crafts Versamark Ink
- Die Cut Sentiment: My Favorite Things
- Glitter: Gold
- Embossing powder: WOW Silver
Instructions for the Card:
-
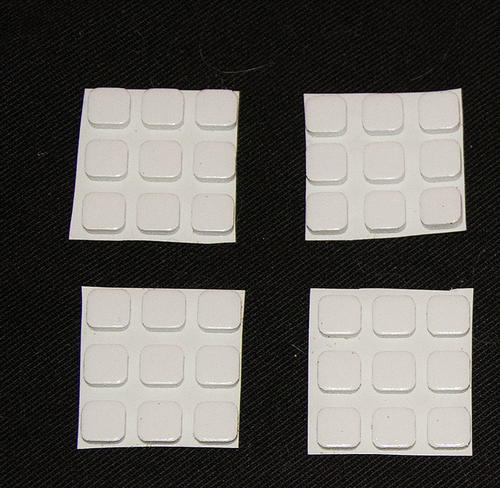
Cut a sheet 3D Foam Squares into pattern.
-
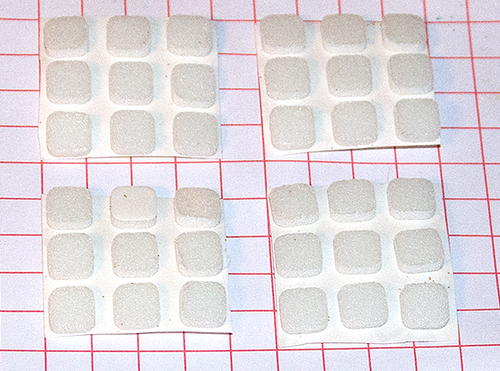
Leave foam squares on the backing, and peel off liners from top of squares.
-
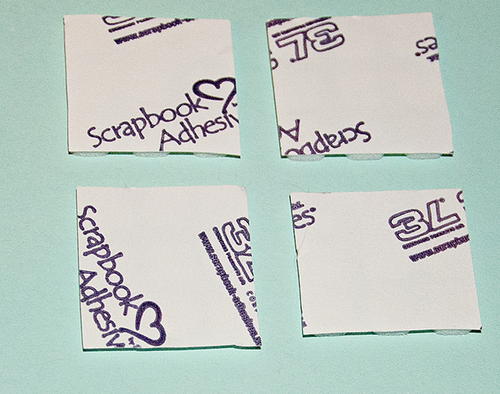
Select cardstock and carefully place it onto the foam squares.
-
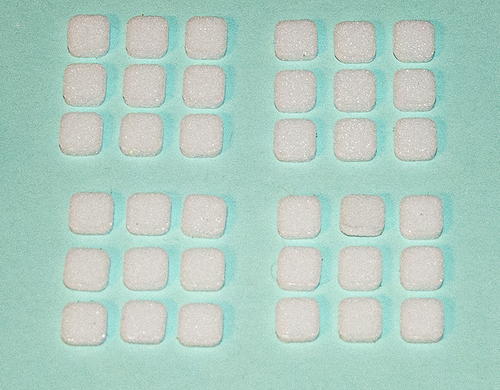
Peel off backing from squares, and pour glitter over the exposed adhesive, remove excess.
-
Swipe Versamark on edges of card stock and emboss with silver embossing powder.
-
Use the 3D Foam Creative Sheets to die cut the sentiment and the small flower. Remove the top liner, pour glitter over the exposed adhesive on the die cut. Adhere it to the glittered foam squares using Dual Tip Glue Pen.
-
Remove liners from two 3D Foam Leaves, pour green glitter over the exposed adhesive. Remove from sheet.
-
Use Dual Tip Glue pen to adhere the string, flower, pearl to the 3D Foam Leaves and card front.
-
Die cut scalloped square from paper and adhere under embossed edge square using Crafty Foam Tape.
-
Lightly ink edges of white card stock with soft pink ink and adhere the scalloped die cut piece using Crafty Foam Tape.
-
Adhere to white card base with Crafty Foam Tape.
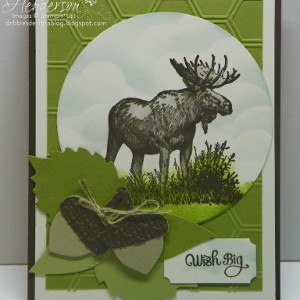
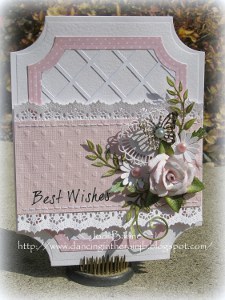
Read NextBeautiful Best Wishes Die Cut Card
Your Recently Viewed Projects
Thanks for your comment. Don't forget to share!
Report Inappropriate Comment
Are you sure you would like to report this comment? It will be flagged for our moderators to take action.
Thank you for taking the time to improve the content on our site.